
Creating First Django Project

Alright fellows, so in this tutorial we’re going to create our very first django project. Here I am assuming that you all have installed Django 2 in your system. Django has a great way for us whenever you want to start a new project. It simply creates a new template for us then we can customize it however like to.

How to Create Django Project

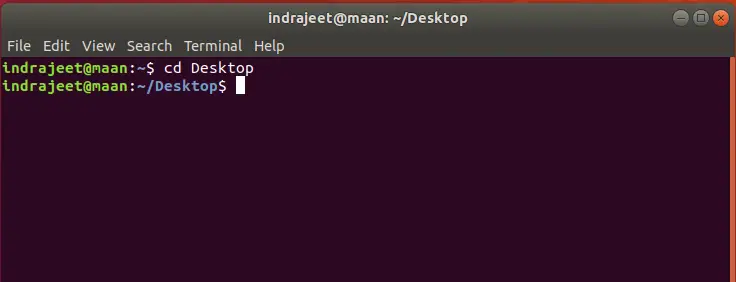
Open terminal or command prompt and navigate to the directory where you want to save your project. Let’s say if you want to save your project on Desktop then open terminal/command prompt and type:

cd Desktop 

First Django Project 1

Now you are in your desktop directory, to create a new project type following command and hit enter:

django-admin startproject  project_name

First Django Project 2

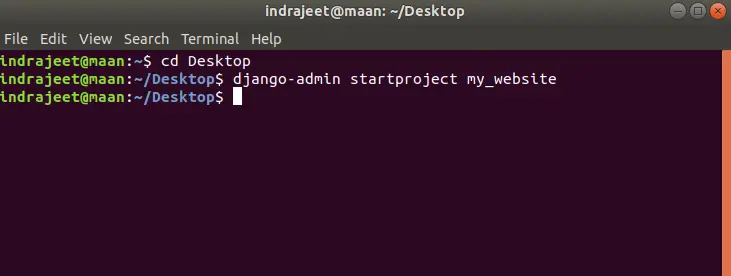
In above picture django-admin is a command that can do lot of other stuff for us, to see all the possible commands for django-admin just type below command and hit enter.

django-admin help

It will show you all options that we can use along with django-admin command. Start project is showing us that we’re going to create a new project and my_website is the name of our project, you can name it as you want.

After this command, you can see that there is a directory created on your desktop with the name of your project.

First Django Project 3

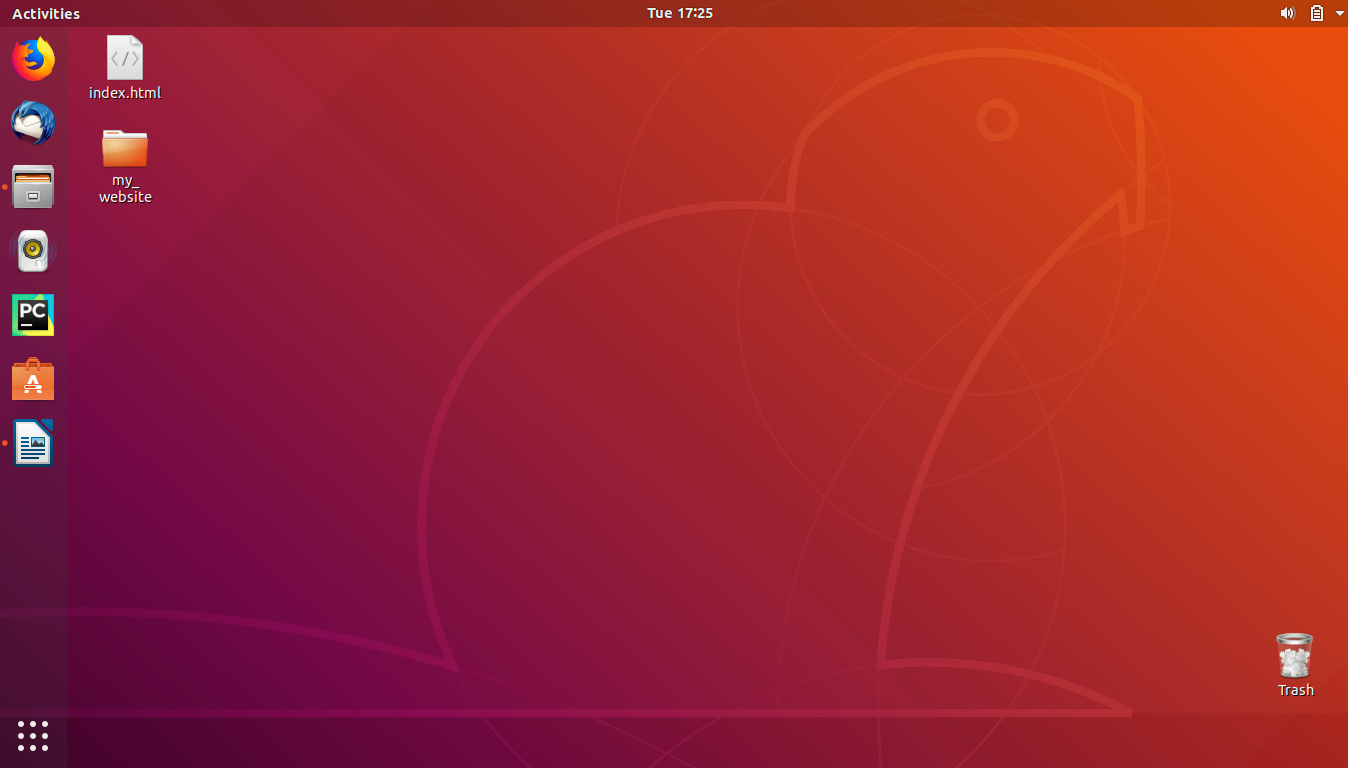
Inside that folder you can see some Python files.

First Django Project 4

First Django Project 5

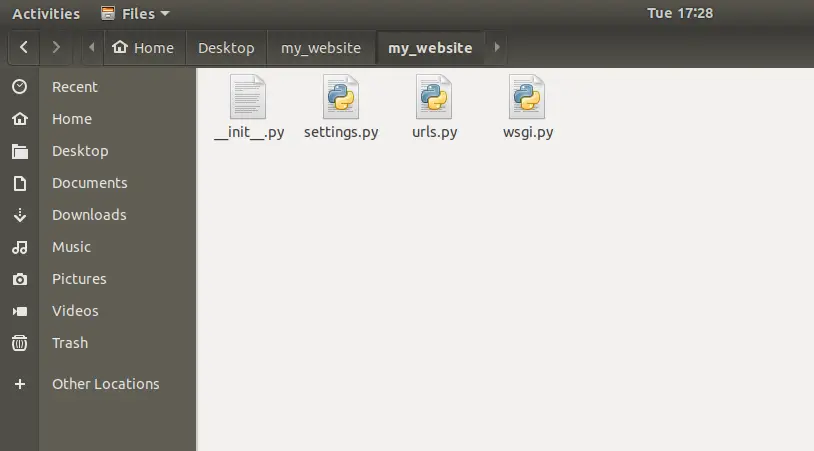
Now we have our project. Let’s see that how we can run this little website.

To do that let’s move back to the terminal and again navigate to Desktop if you are not already there. Now get into the directory of our project by typing following command:

cd project_name

First Django Project 6

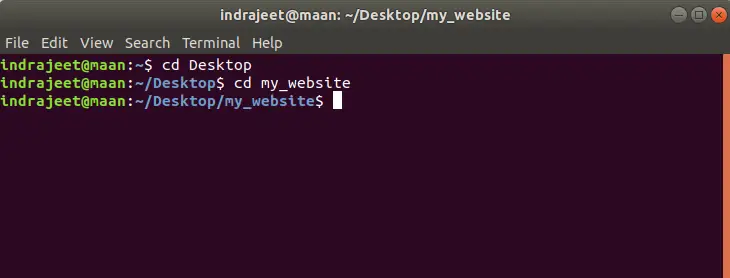
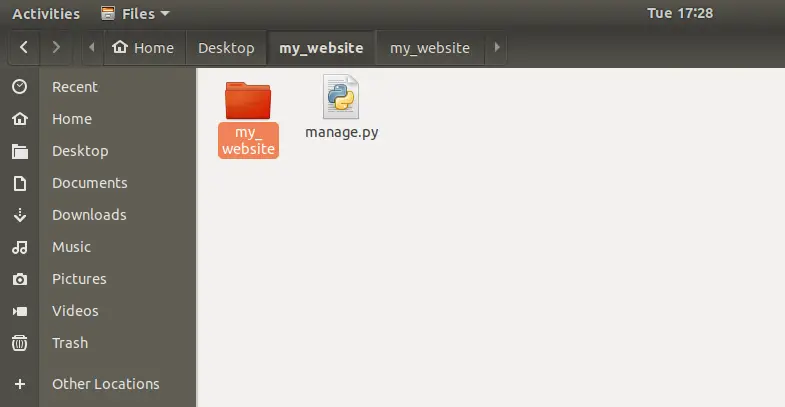
We’re inside our project, now type ls command to see the files in our project.

First Django Project 7

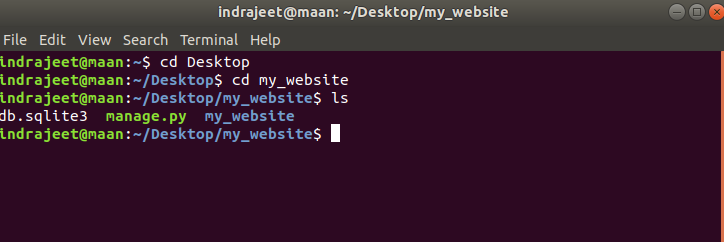
Here you can see that there is a file named as manage.py, which let’s us start our website and it will grab all the files from the directory my_website that is inside our project folder (you can see in above picture).

How to Run Django Project

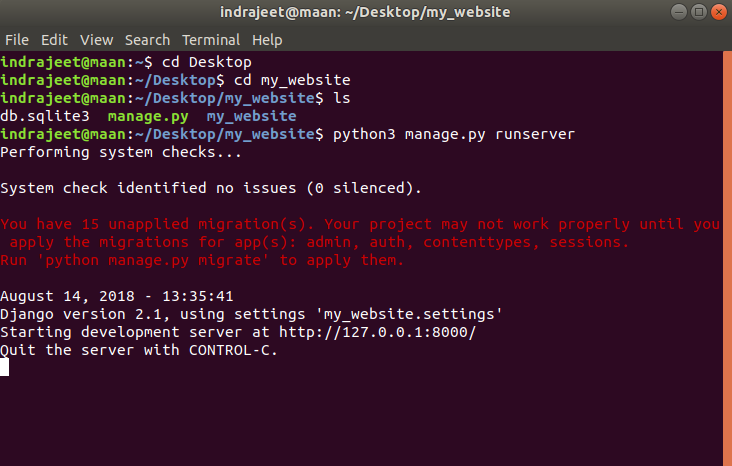
To run and test our project type the command below:

python3 manage.py runserver

First Django Project 8

If you have only Python 3 installed in your system then you can use python instead of python3 in above command.

This command will start a little web-server on our computer (hosting our django project). See the output in above picture, there is a line saying “Starting development server at http://127.0.0.1:8000/”. So now copy this url http://127.0.0.1:8000/ and open it in any internet browser.

First Django Project 9

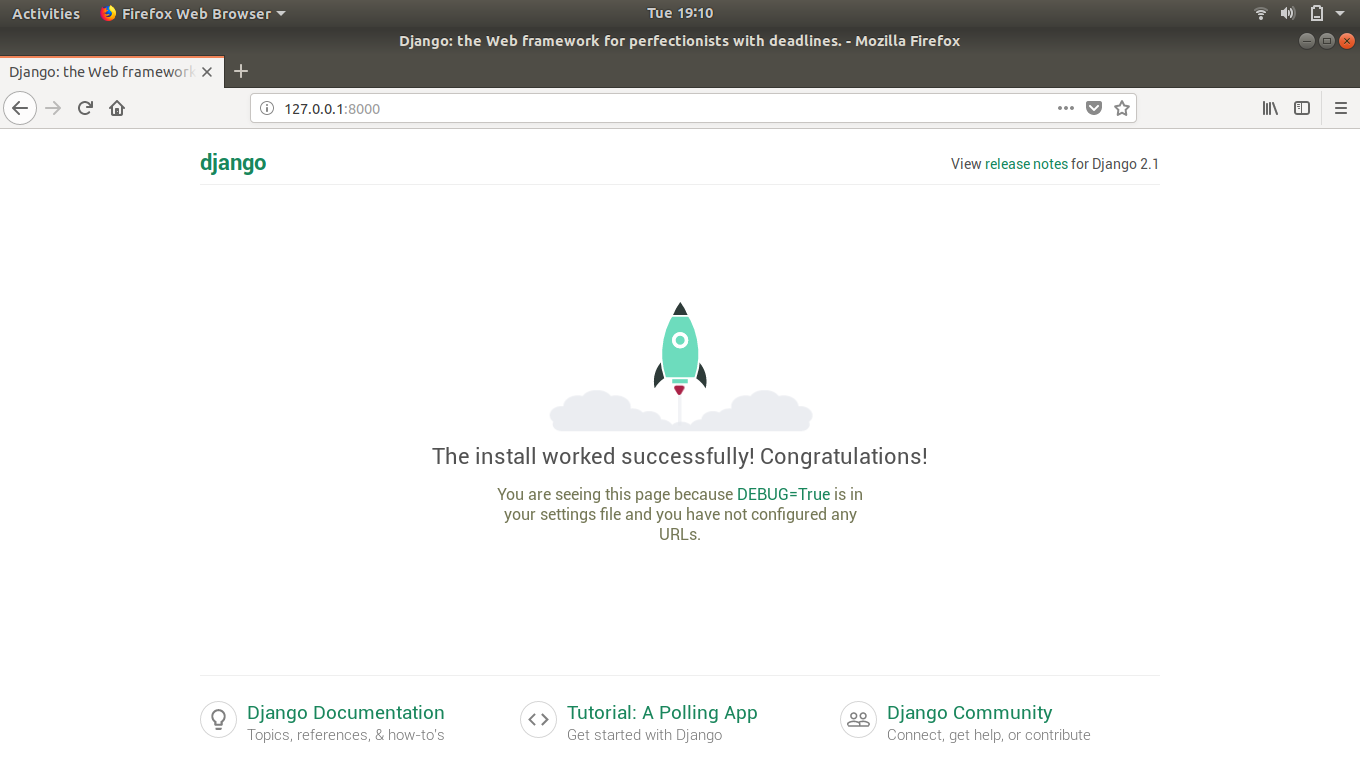
If all steps goes right then you’ll get the screen like above picture. If yes then Congratulation your website is up and running here in your local computer.

Now in the link we have http://127.0.0.1:8000/, here 127.0.0.1 is localhost, that means your own computer and 8000 is port where our web-server is running.

To stop web-server just press ctrl+c (Control c) in terminal.

That’s all for this tutorial. If you’re facing any problem in any steps mentioned above then please let us know in comments.

The post Creating First Django Project appeared first on The Crazy Programmer.


from The Crazy Programmer https://www.thecrazyprogrammer.com/2018/09/first-django-project.html

Comments

Popular posts from this blog

Rail Fence Cipher Program in C and C++[Encryption & Decryption]

Here you will get rail fence cipher program in C and C++ for encryption and decryption. It is a kind of transposition cipher which is also known as zigzag cipher. Below is an example. Here Key = 3. For encryption we write the message diagonally in zigzag form in a matrix having total rows = key and total columns = message length. Then read the matrix row wise horizontally to get encrypted message. Rail Fence Cipher Program in C #include<stdio.h> #include<string.h> void encryptMsg(char msg[], int key){ int msgLen = strlen(msg), i, j, k = -1, row = 0, col = 0; char railMatrix[key][msgLen]; for(i = 0; i < key; ++i) for(j = 0; j < msgLen; ++j) railMatrix[i][j] = '\n'; for(i = 0; i < msgLen; ++i){ railMatrix[row][col++] = msg[i]; if(row == 0 || row == key-1) k= k * (-1); row = row + k; } printf("\nEncrypted Message: "); for(i = 0; i < key; ++i) f...

Data Encryption Standard (DES) Algorithm

Data Encryption Standard is a symmetric-key algorithm for the encrypting the data. It comes under block cipher algorithm which follows Feistel structure. Here is the block diagram of Data Encryption Standard. Fig1: DES Algorithm Block Diagram [Image Source: Cryptography and Network Security Principles and Practices 4 th Ed by William Stallings] Explanation for above diagram: Each character of plain text converted into binary format. Every time we take 64 bits from that and give as input to DES algorithm, then it processed through 16 rounds and then converted to cipher text. Initial Permutation: 64 bit plain text goes under initial permutation and then given to round 1. Since initial permutation step receiving 64 bits, it contains an 1×64 matrix which contains numbers from 1 to 64 but in shuffled order. After that, we arrange our original 64 bit text in the order mentioned in that matrix. [You can see the matrix in below code] After initial permutation, 64 bit text passed throug...

dotnet sdk list and dotnet sdk latest

Can someone make .NET Core better with a simple global command? Fanie Reynders did and he did it in a simple and elegant way. I'm envious, in fact, because I spec'ed this exact thing out in a meeting a few months ago but I could have just done it like he did and I would have used fewer keystrokes! Last year when .NET Core was just getting started, there was a "DNVM" helper command that you could use to simplify dealing with multiple versions of the .NET SDK on one machine. Later, rather than 'switching global SDK versions,' switching was simplified to be handled on a folder by folder basis. That meant that if you had a project in a folder with no global.json that pinned the SDK version, your project would use the latest installed version. If you liked, you could create a global.json file and pin your project's folder to a specific version. Great, but I would constantly have to google to remember the format for the global.json file, and I'd constan...