Here you will learn about working with django admin interface.
Prerequiests: It is necessary to learn about models first before working with Django admin panel. You can learn about models here.
What is admin.py File in Django?
We’ve created an app and a model in previous articles. But we haven’t stored anything yet to our database. Django’s admin interface will help us to add, edit and delete the data from the database using the models. As we know models are the structure of our database tables, we can add a new object, edit it and delete objects from database in two ways either by coding or by using a graphical user interface. That graphical user interface to store, edit and delete data from database is Django admin interface.

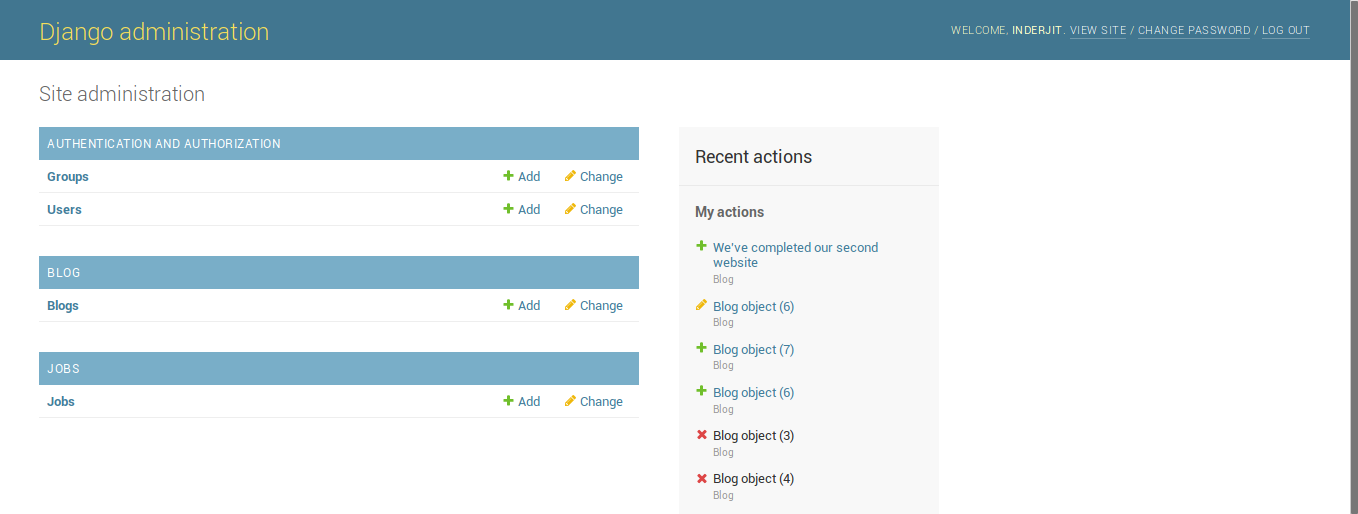
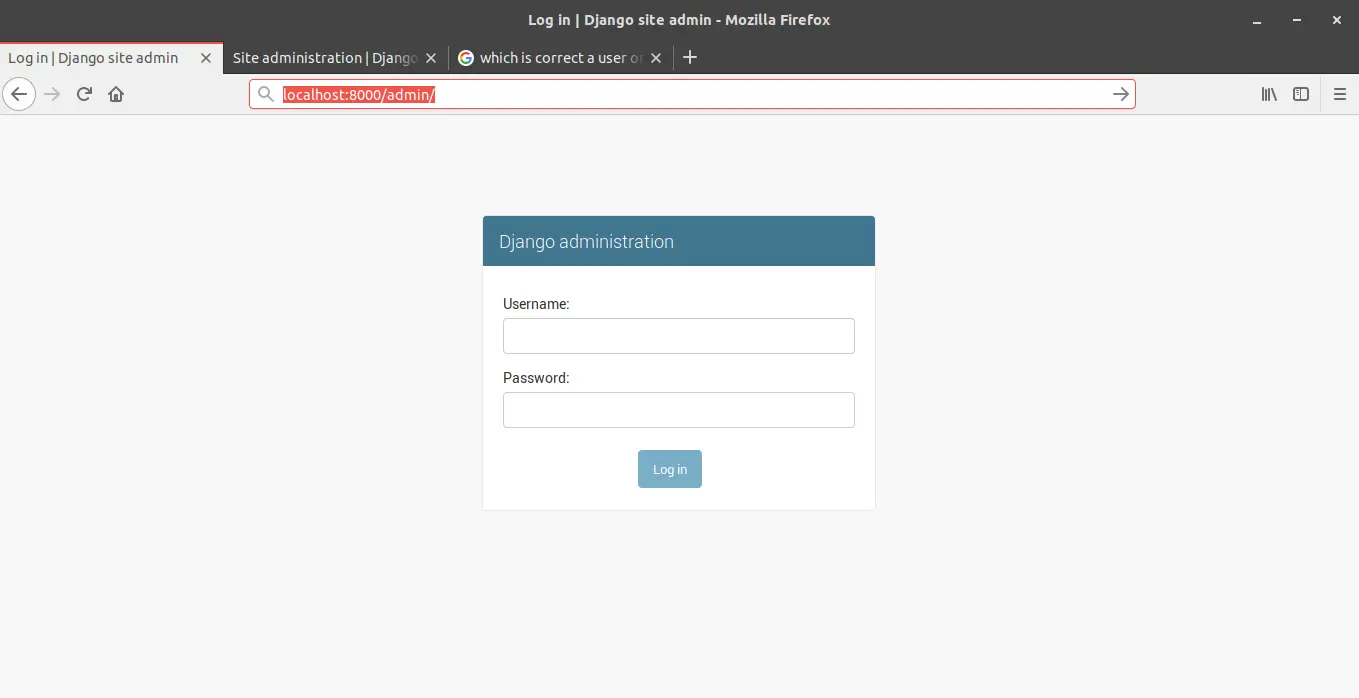
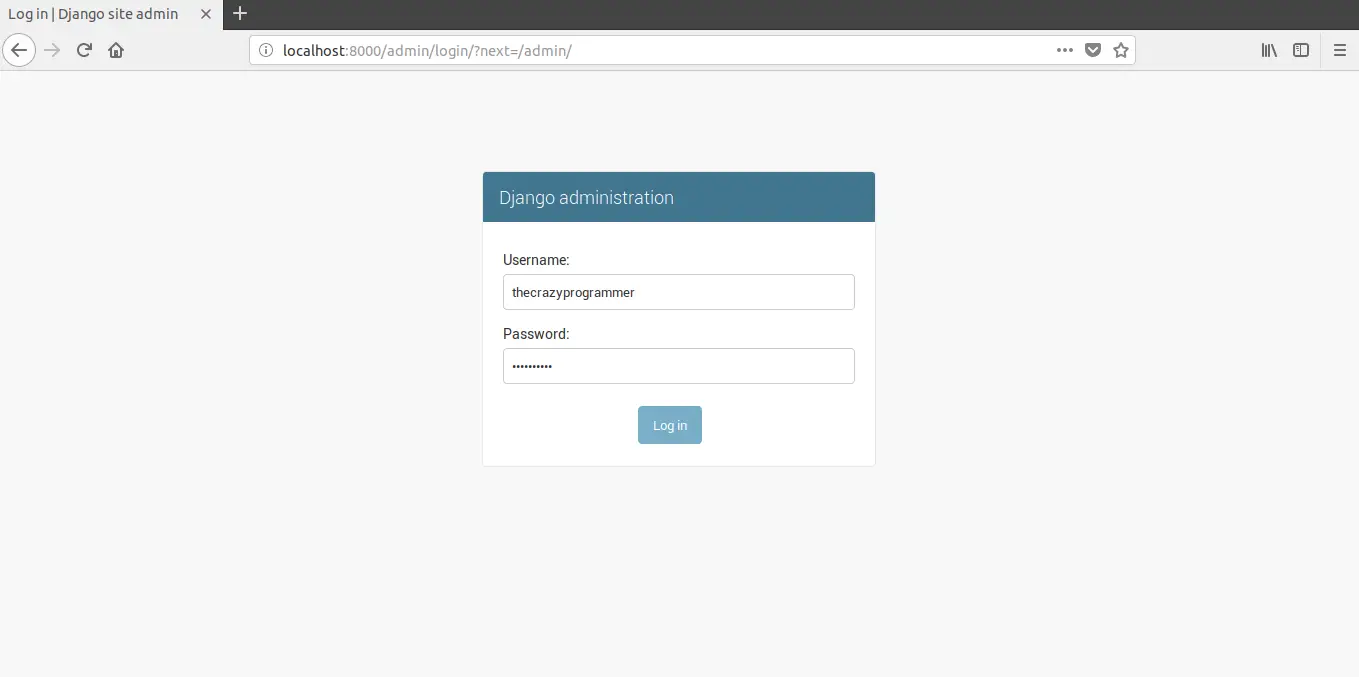
In above screenshots, first is a screenshot of admin page which requires the login to do any changes in database, that’s why it is secured way to work with database and in second image you can see some Models that we have added to admin interface.
Working with Django Admin Panel
As mentioned above, before working with database first you should have created a model. As in previous article we created a model (having ImageField and CharField) named as Job. Now we’ll add this model to admin interface so we can store data in ImageField and CharField using Django’s admin.

So let’s start.
Step 1: Create a User Account
Run your project and open admin page (for example – http://127.0.0.1:8000/admin or localhost:8000/admin/).
So a username and password is required to move forward, means we need to create an account. To create it open your terminal and stop the server then type this command –
python manage.py createsuperuser
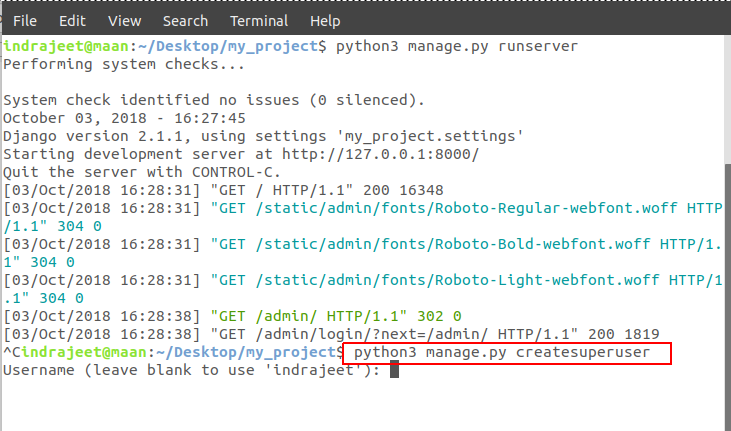
After hitting enter it will ask you for an username, you can type any username but if don’t enter anything and just hit enter then it will take your computer name as username. Let’s say we have created username as thecrazyprogrammer.
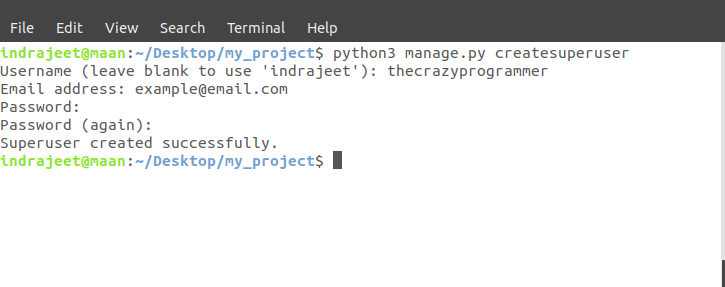
After username, it will ask your email address and a password. So after creating a username let’s run your server again and open localhost:8000/admin again, then login with your username and password you’ve entered above.
Note: If you forgot your password later, then there is no need to worry. As long as you have access to your server you can change it.
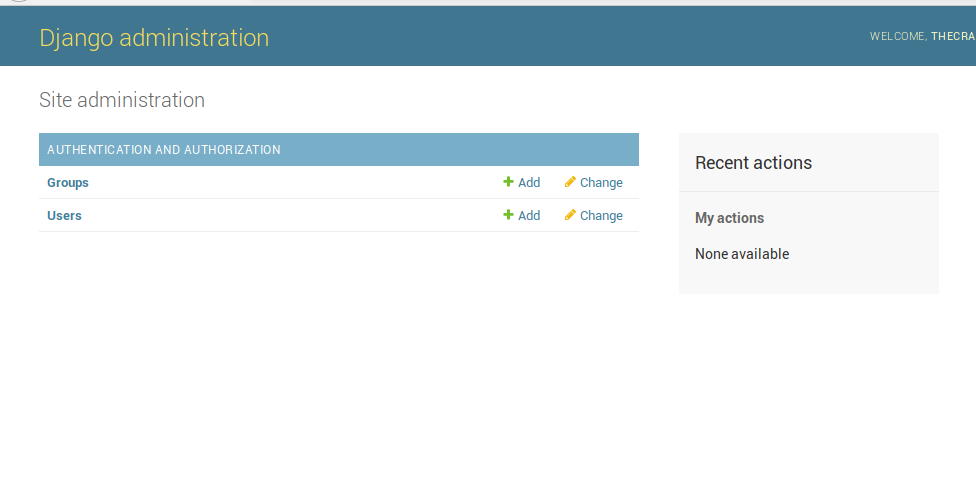
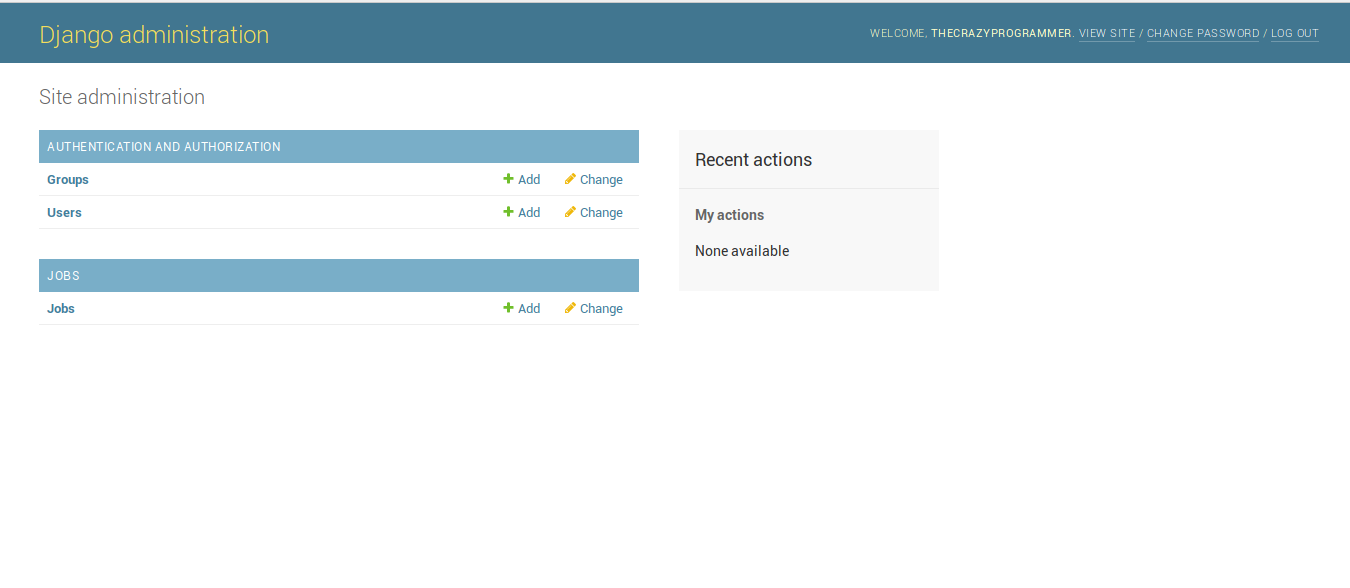
So now you’ve access to the Django admin page. At present there is only options are showing which can be used to add or see the new username and groups. But our created model Job is still not shown up.
Step 2: Register Your Model in admin.py
To register your model in admin.py, open the admin.py inside the same app directory where is your models.py (model to be added) is present.
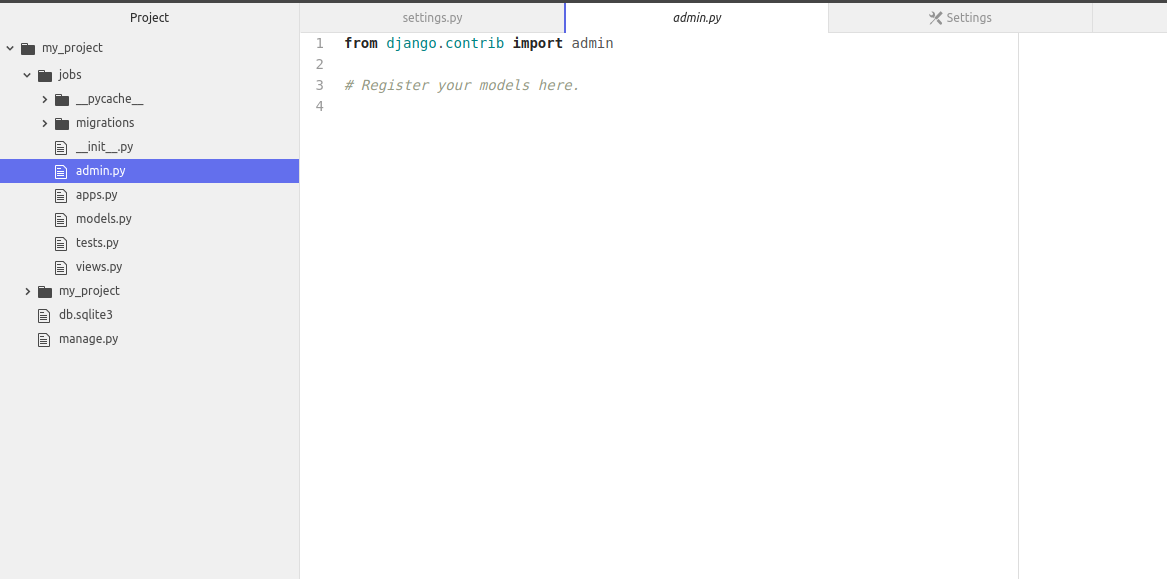
Now inside this file write the code as shown below .
from django.contrib import admin

from .models import Job

admin.site.register(Job)
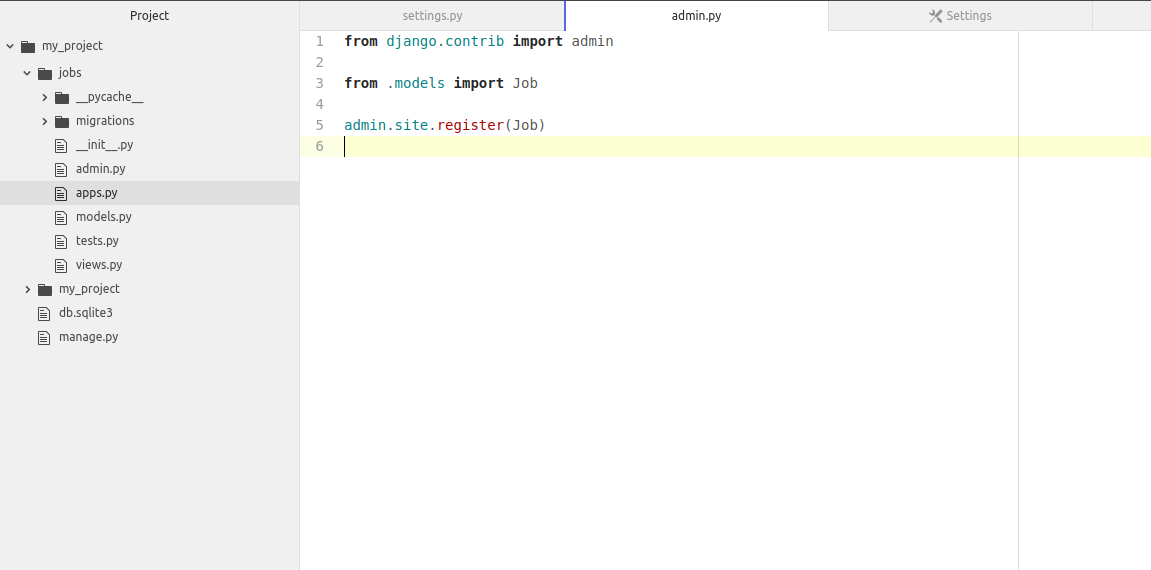
Here Job is the name of our model that we want to register. Now save that file and reload the admin page in browser and you’ll get Job model in the Django’s admin.
Step 3: Add, Edit and Delete Data (Objects) from Database
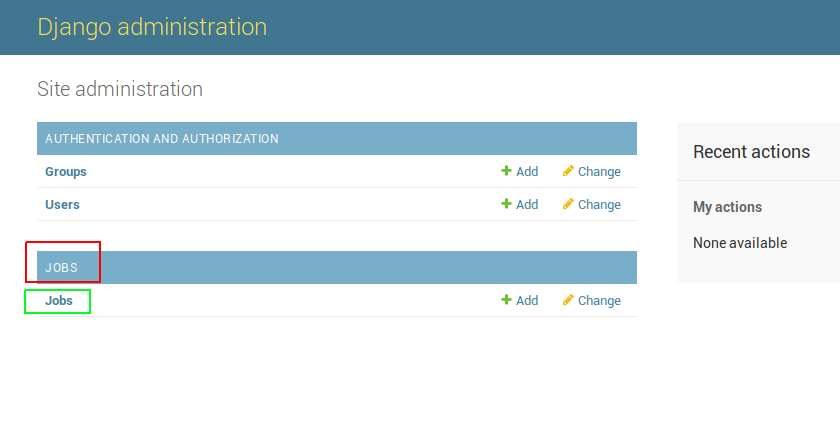
Here JOBS in red square is name of the APP and Job in green square is the model. As we can add more than one model in an app it will be shown under the JOBS app.
Now open the Jobs model.
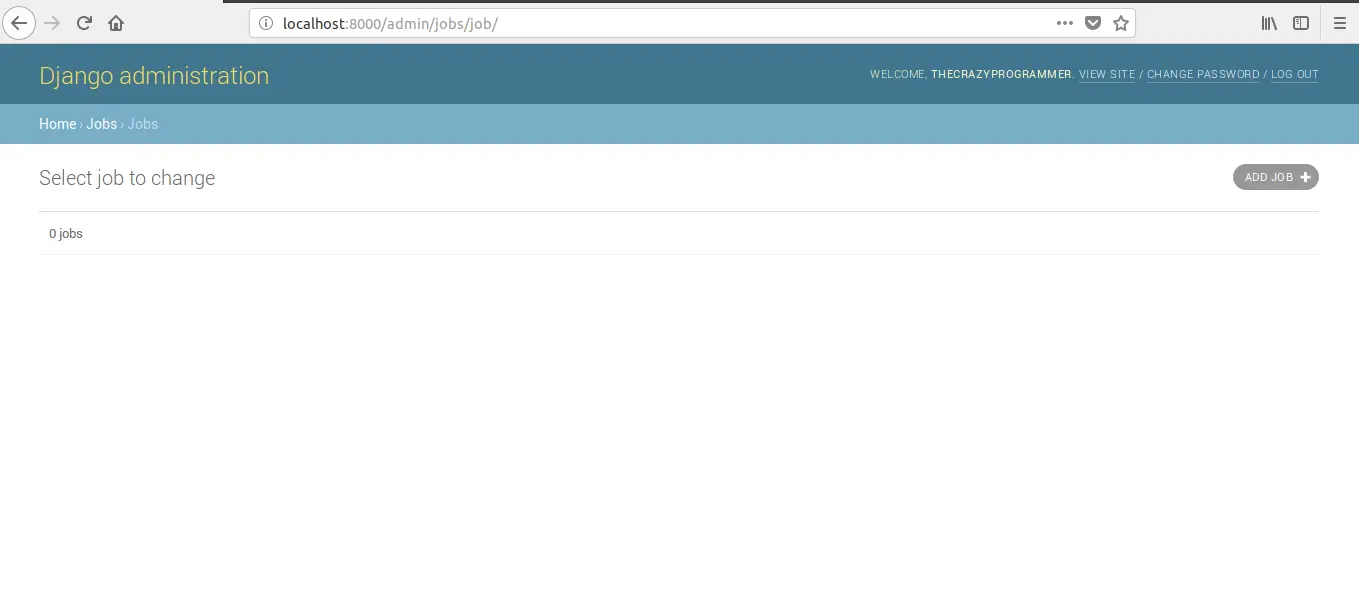
Currently there is nothing in the database. To add it click on Add Job button at right of the screen. Then you will see that the fields we’ve specified in the Model will be shown up here.
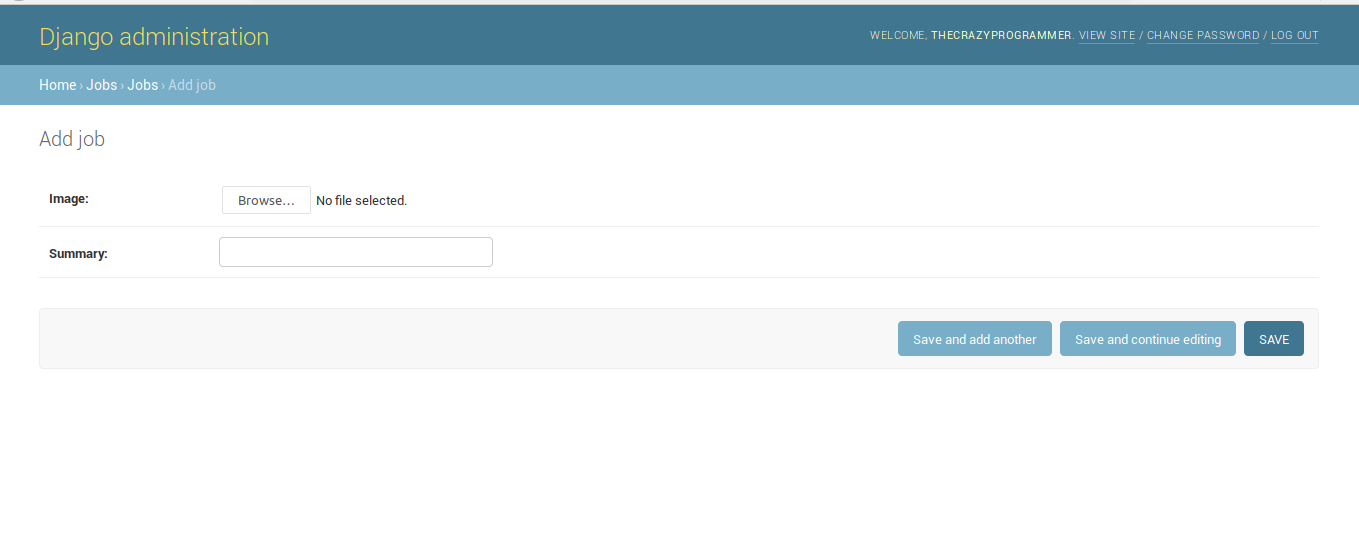
Add data and save it.
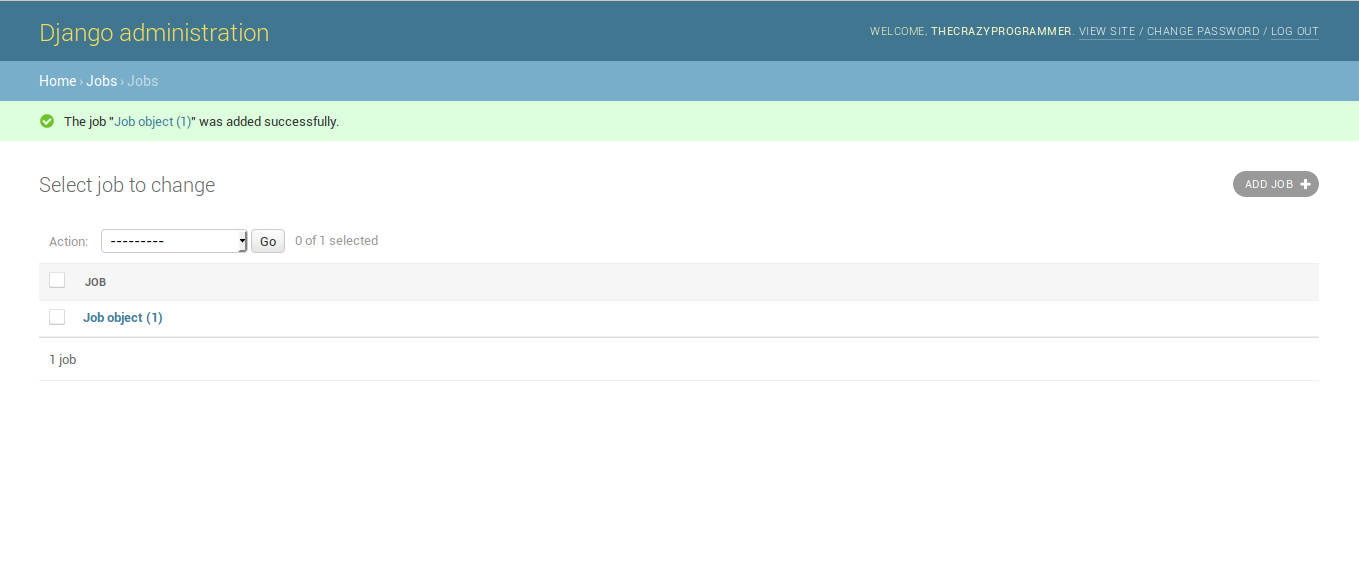
And our data is stored into database. Now you may have got the idea that how easy is working with Django. We didn’t need to specify the queries to store the data into database. It will be very helpful, let’s say you have a website running on server. You want to change/delete/add some data. All you have to do is login to your admin interface and update it using Django admin and your site will be up to date.
That’s all
I hope you’ve understood the basic idea of storing data into database using Django’s admin interface. We’ll also see how to fetch data from database in other articles. If you’ve any problem related to this article then please let us know in comment box, We’ll reply as soon as possible.
The post Django Admin Interface appeared first on The Crazy Programmer.
from The Crazy Programmer https://www.thecrazyprogrammer.com/2019/01/django-admin-interface.html
Comments
Post a Comment