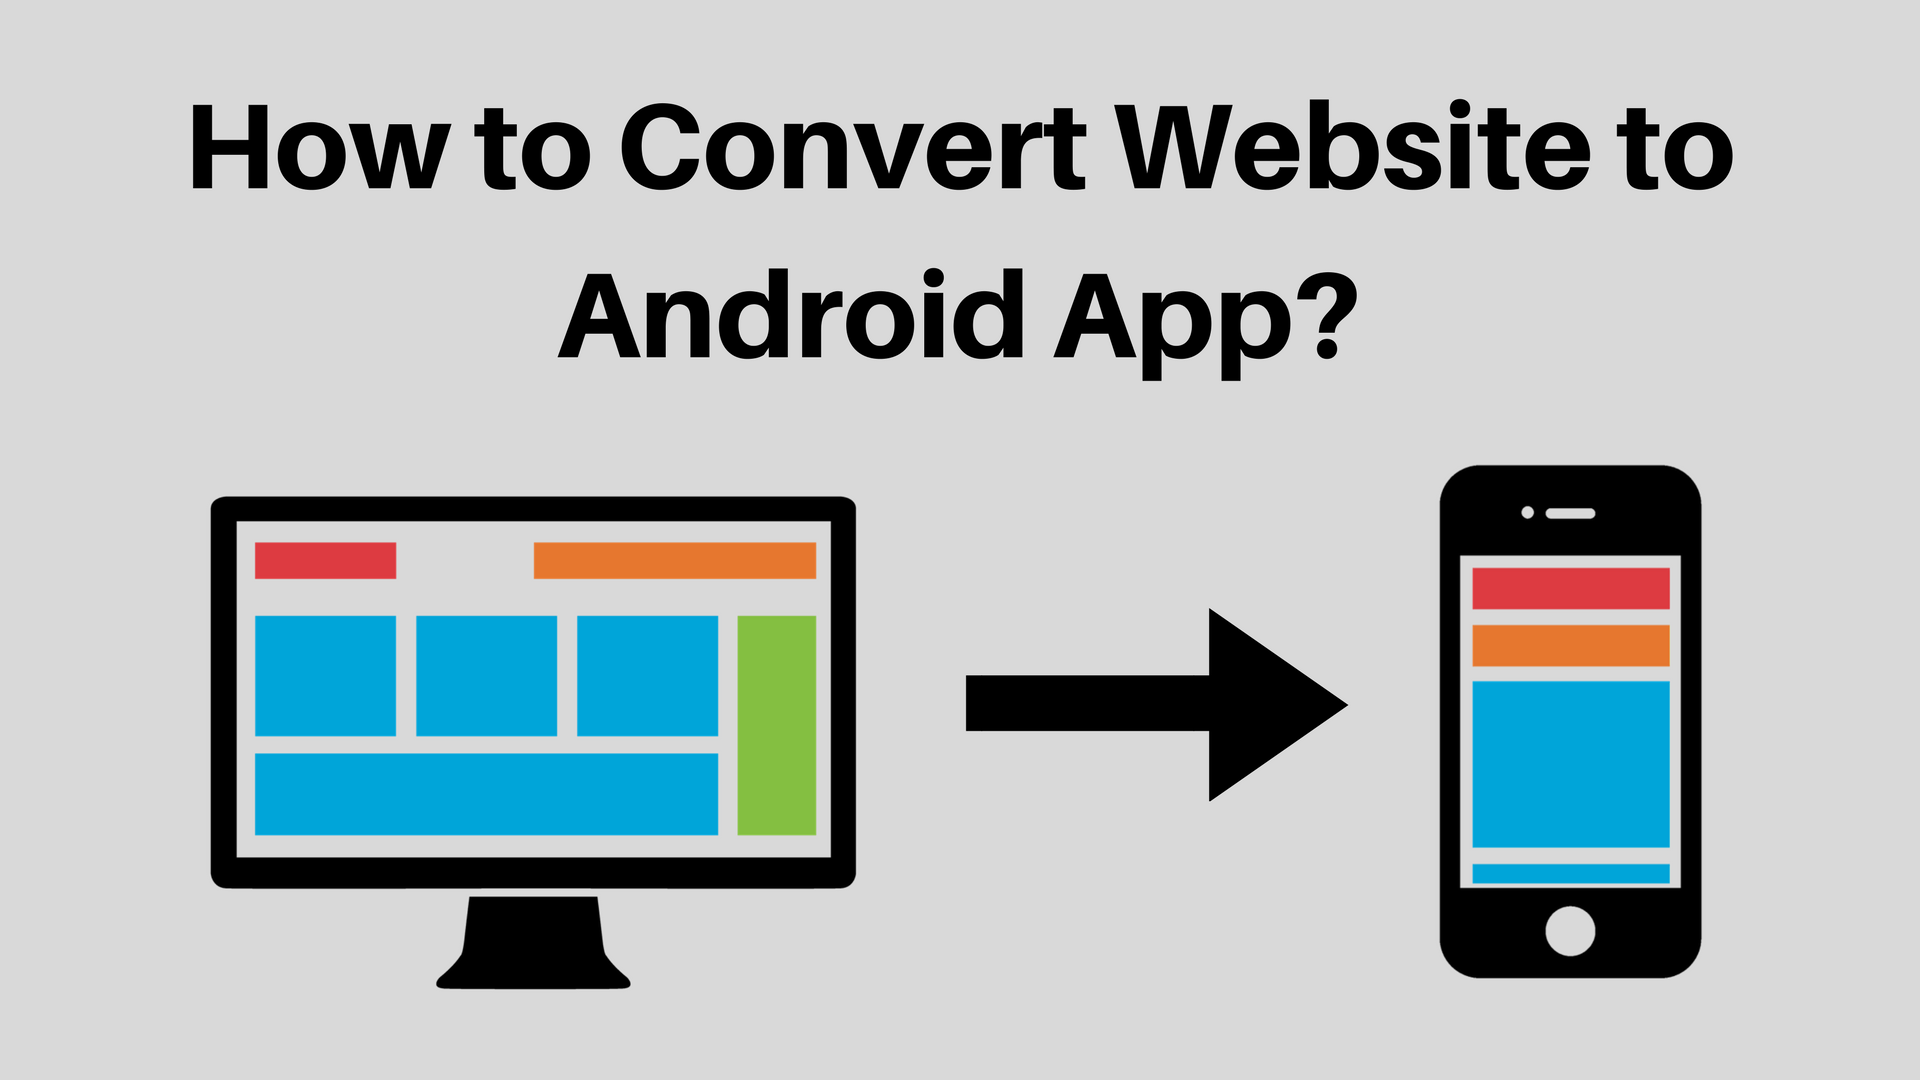
In this tutorial you will learn how to convert website to android app using Android Studio.
Before reading this tutorial I hope that you already have basic knowledge of Android App Development. Otherwise you won’t be able to understand anything.
What I will do here is simply open the website in webview with a loading bar so that it will look like we are using an android app.
By using this method you can convert website or wordpress blog into android application. You can follow this link to see an example app that I have created using this process.
Note: Make sure the website for which you want to create app is responsive, otherwise the app will not look proper.
If you want to integrate admob and google analytics in your app then you can follow below tutorials.
Also Read: Android Google Analytics Integration Tutorial
Also Read: Android AdMob Tutorial
How to Convert Website to Android App
Create an android studio project with the website name.
Add internet access permission to AndroidManifest.xml file.
<uses-permission android:name="android.permission.INTERNET"/>
Add following code in activity_main.xml file. Here I have added a horizontal progress bar with a webview.
activity_main.xml
<RelativeLayout xmlns:android="http://schemas.android.com/apk/res/android"
    xmlns:tools="http://schemas.android.com/tools"
    android:layout_width="match_parent"
    android:layout_height="match_parent"
    tools:context="com.myudaipurcity.MainActivity">
    <ProgressBar
        android:id="@+id/progressBar"
        style="?android:attr/progressBarStyleHorizontal"
        android:layout_width="fill_parent"
        android:layout_height="5dp"
        android:progressDrawable="@drawable/bg_progress_bar_webview" />

    <WebView
        android:id="@+id/webView"
        android:layout_width="match_parent"
        android:layout_height="match_parent"
        android:layout_below="@+id/progressBar"
        />
</RelativeLayout>
Create an xml file inside drawable folder and add following code in it. It is a custom background for progress bar. You can change the color by changing color code in res/values/color.xml file.
bg_progress_bar_webview.xml
<?xml version="1.0" encoding="utf-8"?>
<layer-list xmlns:android="http://schemas.android.com/apk/res/android" >

    <item
        android:id="@android:id/background"
        android:drawable="@color/colorAccent"/>

    <item android:id="@android:id/secondaryProgress">
        <scale
            android:drawable="@color/colorPrimary"
            android:scaleWidth="100%" />
    </item>

    <item android:id="@android:id/progress">
        <scale
            android:drawable="@color/colorPrimary"
            android:scaleWidth="100%" />
    </item>

</layer-list>
Add following code in MainActivity.java file. The code is self explanatory, I have added comments where ever required.
package com.thecrazyprogrammer;

import android.app.Activity;
import android.os.Bundle;
import android.view.KeyEvent;
import android.view.View;
import android.webkit.WebChromeClient;
import android.webkit.WebView;
import android.webkit.WebViewClient;
import android.widget.ProgressBar;

public class MainActivity extends Activity {
    WebView webView;
    ProgressBar progressBar;
    String URL = "http://www.thecrazyprogrammer.com/";

    @Override
    protected void onCreate(Bundle savedInstanceState) {
        super.onCreate(savedInstanceState);
        setContentView(R.layout.activity_main);

        progressBar = (ProgressBar) findViewById(R.id.progressBar);
        webView = (WebView)findViewById(R.id.webView);

        webView.getSettings().setJavaScriptEnabled(true);

        //loading progressbar
        webView.setWebChromeClient(new WebChromeClient() {
            public void onProgressChanged(WebView view, int progress)
            {
                progressBar.setProgress(progress);

                if (progress == 100) {
                    progressBar.setVisibility(View.GONE);

                } else {
                    progressBar.setVisibility(View.VISIBLE);

                }
            }
        });

        webView.setWebViewClient(new WebViewClient() {

            @Override
            public boolean shouldOverrideUrlLoading(WebView view, String url)
            {
                view.loadUrl(url);
                return true;
            }
        });

        webView.loadUrl(URL);
    }

    //enabling back button to go to previous page
    @Override
    public boolean onKeyDown(int keyCode, KeyEvent event) {
        if (event.getAction() == KeyEvent.ACTION_DOWN) {
            switch (keyCode) {
                case KeyEvent.KEYCODE_BACK:
                    if (webView.canGoBack()) {
                        webView.goBack();
                    } else {
                        finish();
                    }
                    return true;
            }

        }
        return super.onKeyDown(keyCode, event);
    }
}
Finally save and run the project. Below is a screenshot how the app will look like.
Comment below if you have queries related to above tutorial for how to convert website to android application.
The post How to Convert Website to Android App Using Android Studio appeared first on The Crazy Programmer.
from The Crazy Programmer http://www.thecrazyprogrammer.com/2017/08/convert-website-android-app.html


Comments
Post a Comment