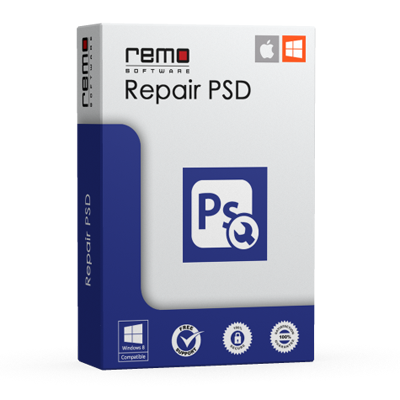
If you’re a frequent user of Adobe PhotoShop or Adobe PhotoDeluxe, you must have encountered corrupted or compressed or damaged PSD and PDD files that wipe away all the hardships you’ve spent on creating them. Here, instead of following all the steps altogether once again, there are various relieving PSD file repair tool that come to your rescue and magically repairs all the graphics, layers, colors and other components of your PSD or PDD file and restores them.
Various Causes of Corrupted PSD & PDD files:
- A malfunction of Adobe PhotoShop or PhotoDeluxe.
- Incompatibility of Photoshop version and PSD/PDD file.
- Accessing the file from the portable removable devices.
- Any abruption caused while compressing or using an unreliable tool.
Remo Repair PSD

- It is a renowned PSD file repair tool by the Remo Softare that ensures that all the corrupted Adobe PhotoShop and Adobe PhotoDeluxe files are repaired and restored in its original state.
- Remo Repair PSD guarantees to resolve all the Causes of Corrupted PSD & PDD files listed above.
- This PSD/PDD file repair tool ensures that the file will be restored in the original form and will remain unaltered as this tool accesses these files in a read-only mode.
Features:
- 100% Safety
- 24*7 Tech Support available: in-case you’ve any query related to the Remo Repair PSD file repair tool, you can easily call for help, they’ll guide you and resolve each query.
- Photoshop versions supported include Photoshop5.5, Photoshop 6.0, Photoshop 7, CS, CS1, CS2, CS3, CS4, CS5 & CS6.
- Along with the color modes and layers it repairs the compressed RLE files as well. Supported Color modes include Bitmap (monochrome), Gray-scale, Indexed color (palette color), RGB color, CMYK color, Multichannel color, Duotone (halftone) and Lab color.
- Also supports large size PDD and PSD files.
- Repairing files with 1, 8, 16 and 32 bits per channel depth.
- The Repair process is executed layer by layer separately.
- The Supported Windows Operating Systems by Remo Repair PSD: Microsoft Windows 10, Windows 8, Windows 7, Windows Vista, Windows XP, Windows 2003 and Windows 2008. Supports Windows 32-bit, 64-bit PC.
- Supported Mac Operating Systems by Remo Repair PSD: Mac OS X 10.5.x and above (including Leopard, Snow Leopard, Lion, Mavericks, Yosemite, El Capitan, Sierra and High Sierra)
- A demo version of Remo Repair PSD can be downloaded first in-order to test the effectiveness of the tool, which includes all the steps stated below excluding the saving option of the recovered file.
Steps to repair PSD/PDD file via Remo Repair PSD:
- Download Remo Repair PSD from the following link https://www.remosoftware.com/remo-repair-psd and then install it, the Remo Repair PSD will directly create an icon on the desktop.
- Launch the tool from the desktop.
- Choose the ‘Browse’ option, and now select the PSD/PDD file to be repaired.
- Here, the processing of the tool will commence and it will fix the file resulting to a new healthy PSD/PDD file.
- After the completion of the repairing process, you can now ‘Preview’ the file before saving.
- Now you can save the new repaired healthy file on the desired storage location.
The demo Remo Repair PSD will not support the ‘Saving’ option i.e. the last step (Step 6) mentioned above, Whereas the purchased version will complete each process generating a corrupt-free PSD/PDD file.
Charges for availing Remo Repair PSD:
- $69.97 for Windows
- $69.97 for Mac
There are various Bundle Packages offered by the Remo Software that you can purchase to save few bucks.
If you’re a constant Adobe PhotoShop or Adobe PhotoDeluxe user, we’d suggest you to make Remo Repair PSD in-charge of all the corrupt PSD/PDD files to provide them speedy recovery.
The post Remo Repair PSD Review appeared first on The Crazy Programmer.
from The Crazy Programmer https://www.thecrazyprogrammer.com/2018/07/remo-repair-psd-review.html
Comments
Post a Comment