In this tutorial, we’re going to take a look on each file that exists in our django project folder.
Let’s say, we’ve created a project named as my_website on our desktop. Now open that folder you can see another folder (directory) with the same name inside our project folder.

Along with this directory, we’ve other two files db.sqllite3 and manage.py.
Let’s understand these files.
manage.py
This is the file that we’ve used to run server. Basically that manage.py file help us to do some top level admin things. To see all the funtionality of that file other than running a server, just open terminal or command prompt and navigate to the directory where our manage.py file exists and run the command below.
python3 manage.py help
or
python manage.py help (if you have only python3 installed in your system)
Now after running this command you can actually see all the things that our manage.py file can do like startapp, runserver, collectstatic. We’ll use many of these things later and we should never edit this file if you’re editing this file for specific reason, at that point you should be an expert django user before you go messing up with this file.
db.sqlite3
This file is a database that is generated for us whenever we make a new project and run the server. This is going to be a non-human readable file. It’s supposed to store data in a really efficient way.
Now open my_website directory inside our project folder and you’ll see some other files and a directory as shown below.
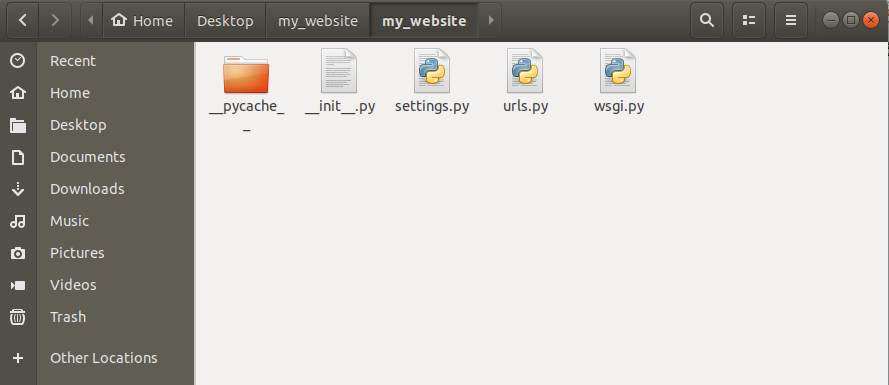
__pycache_
This directory is going to be auto-generated everytime when we’re running the server. Inside __pycache_ there are some other files having extension .pyc. These are some internal files, we doesn’t need to worry about these at all.
__init__.py
This is also created automatically whenever we initially create a new project and we’ll never touch this file too because this file is not there for programmer’s use. It is there for some internal django working. We’re not going to worry about it too.
settings.py
This is the file, that we’re going to use a lot. If we open this file using any text editor then you can see that there is a BASE_DIR variable that have the path of our base directory of our project.
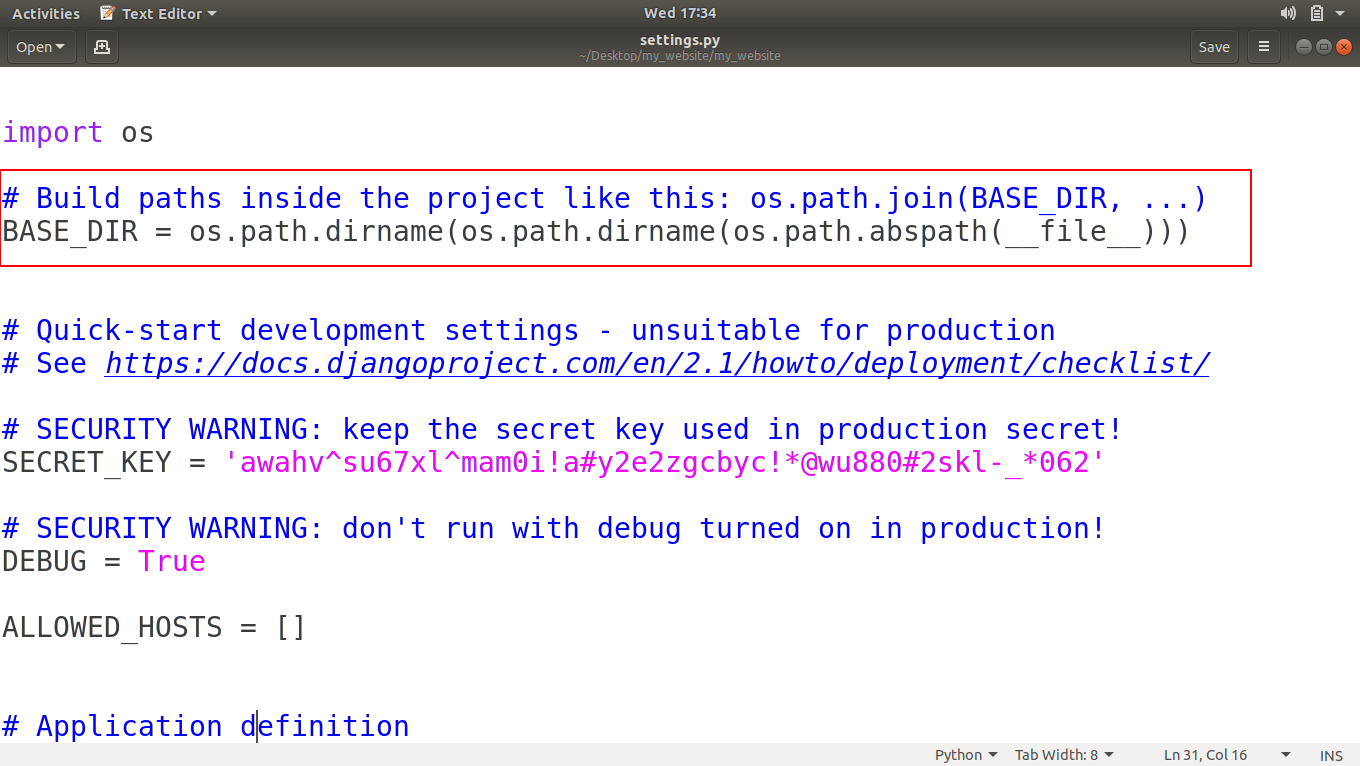
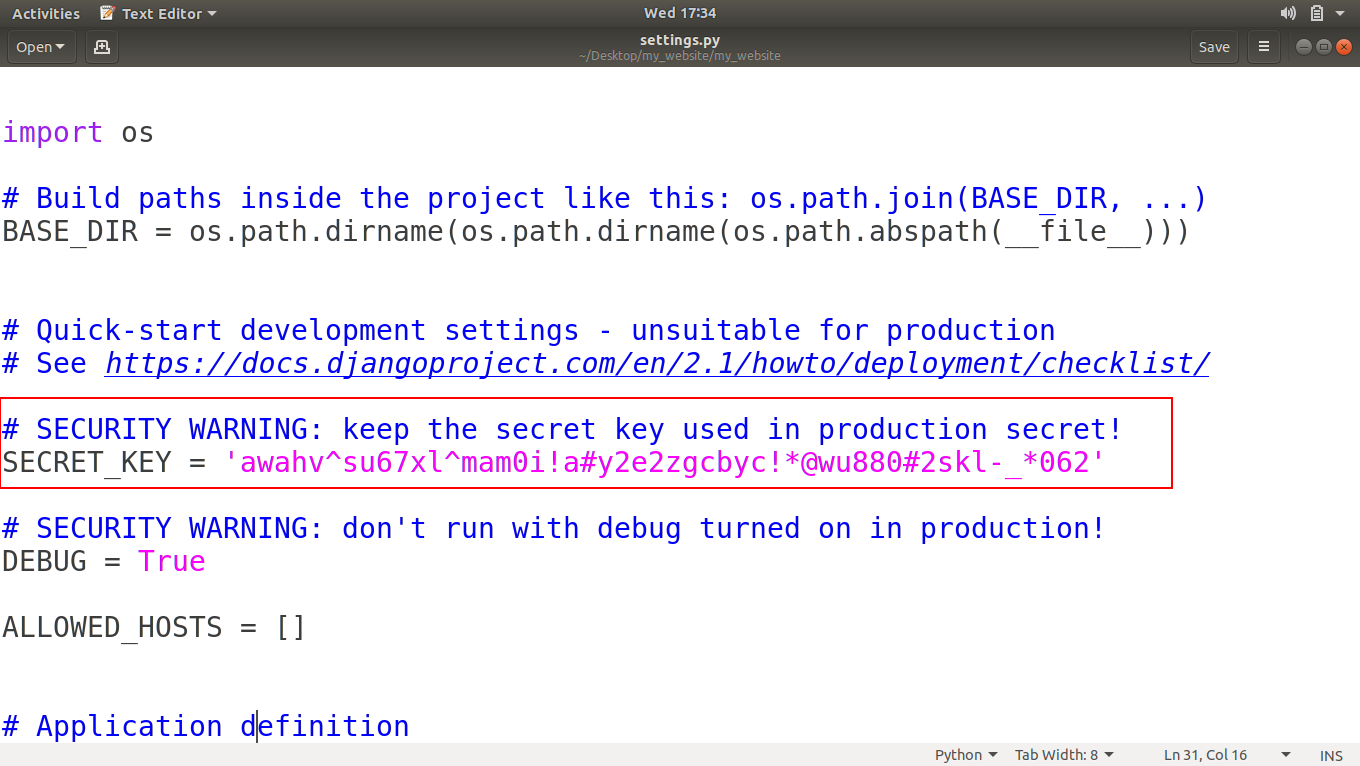
Next there is a SECRET_KEY that we should never show to anybody if we’re going to pushing up our project to internet. We can also change this key as we want to.
Next is DEBUG, that is set as True. This is basically saying that you are working in a development environment on your computer. This helps us to show errors while running our project. When our project will be live on the internet, we’ll set DEBUG as False.
Next two variables are ALLOWED_HOSTS and INSTALLED_APPS that we’ll see later when our project will be under production phase.
Next is MIDDLEWARE, This is also some advance stuff and auto-generated code by django.
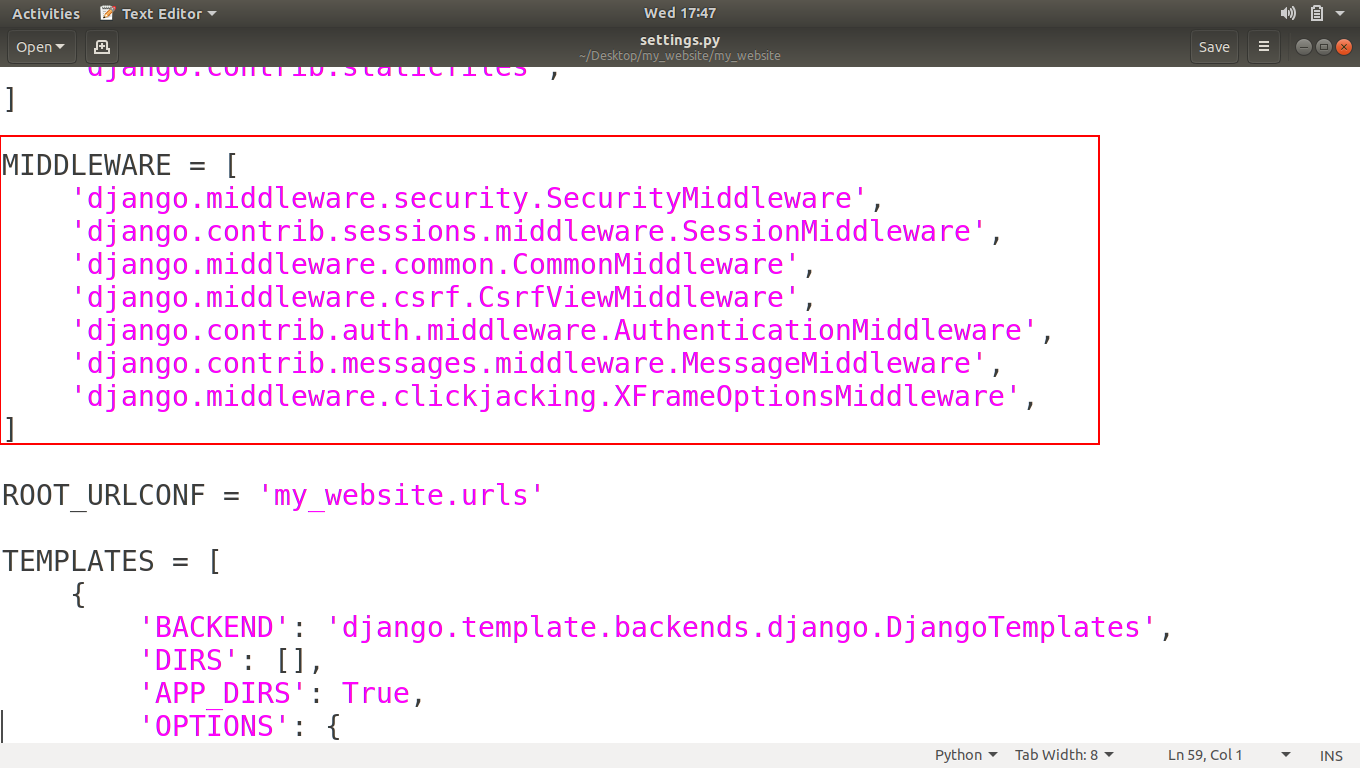
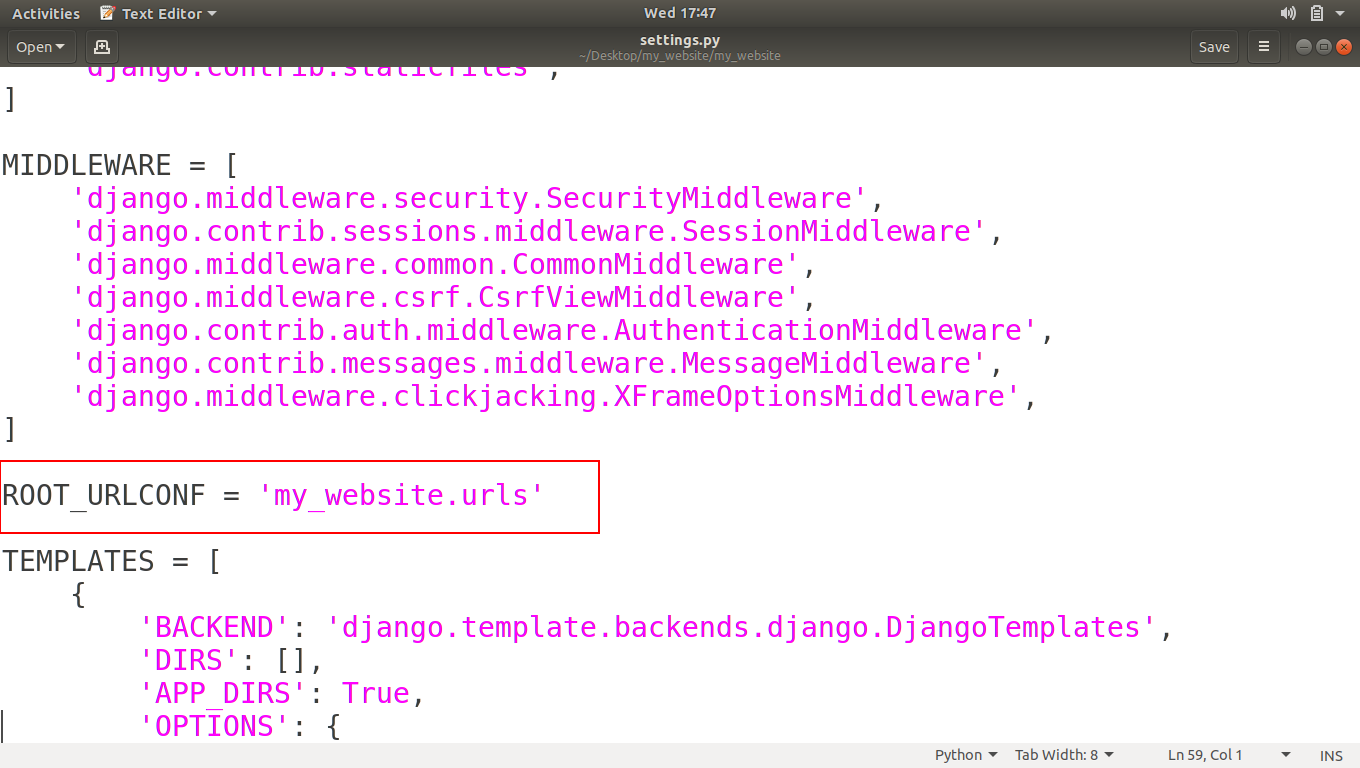
Then there is a ROOT_URLCONF variable that’s basically saying where your initial URL file is.
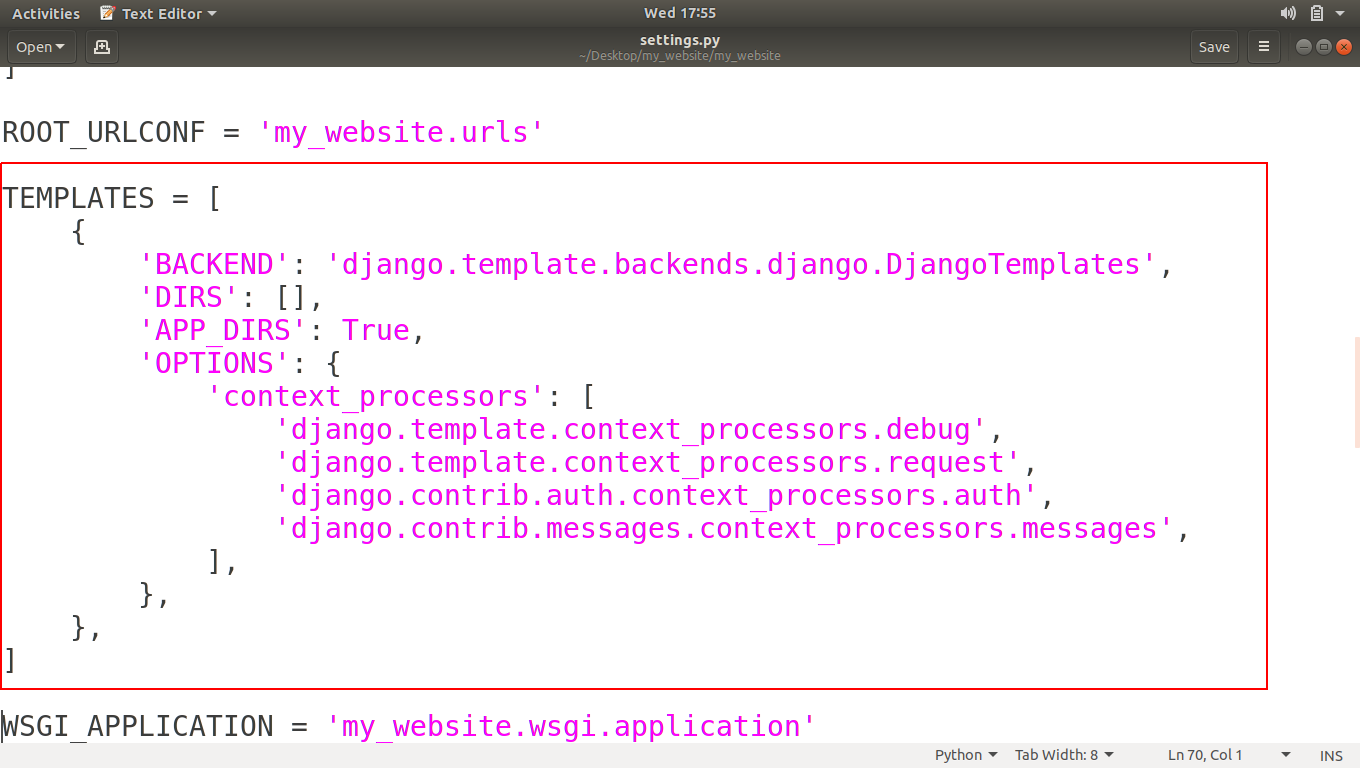
Next one is TEMPELATES, basically these tempelates helps to turning the python code into HTML, because when someone requests a website, it is going to give back HTML. As we can see when we open page source of any webpage, It gives us bunch of HTML Tags.
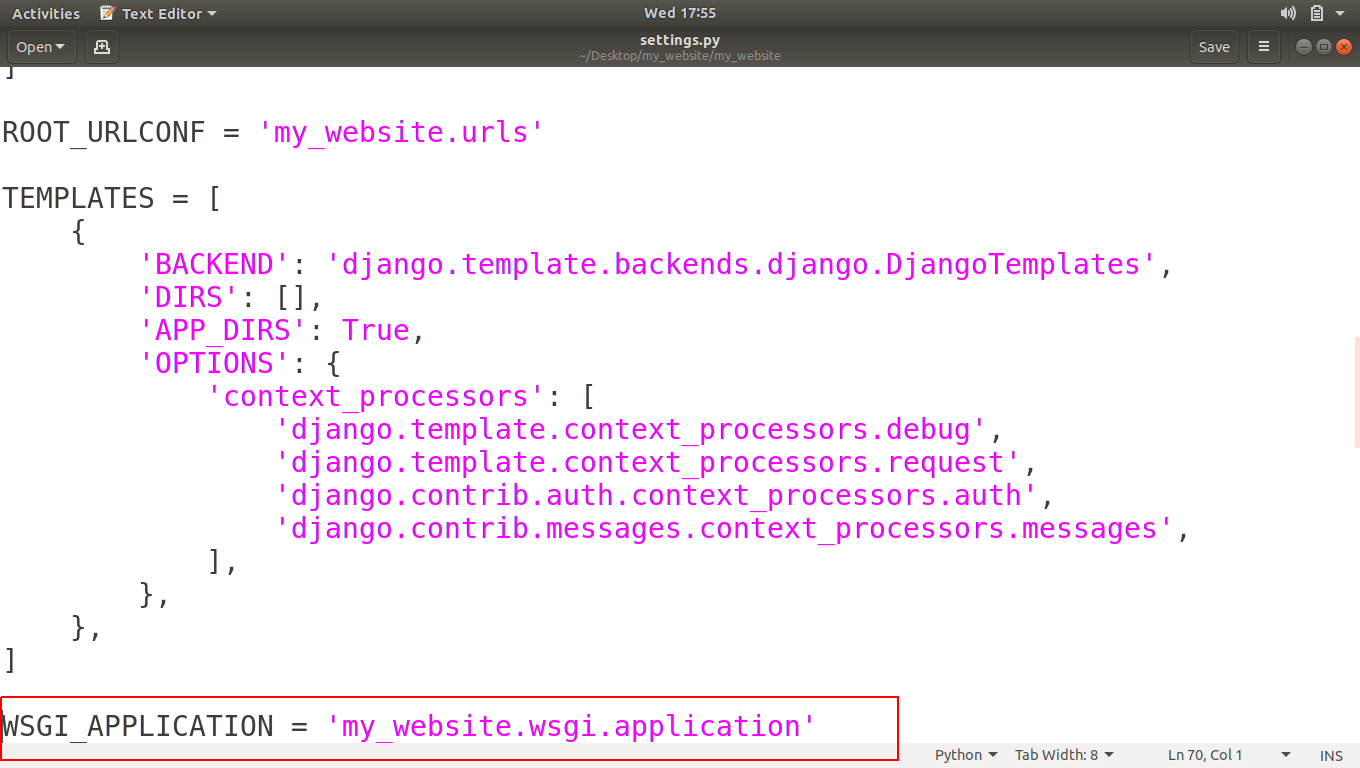
Next is WSGI_APPLICATION, This is used when we’re hosting our project live, how people connect with it. We’ll see more when we publish our project live to the internet.
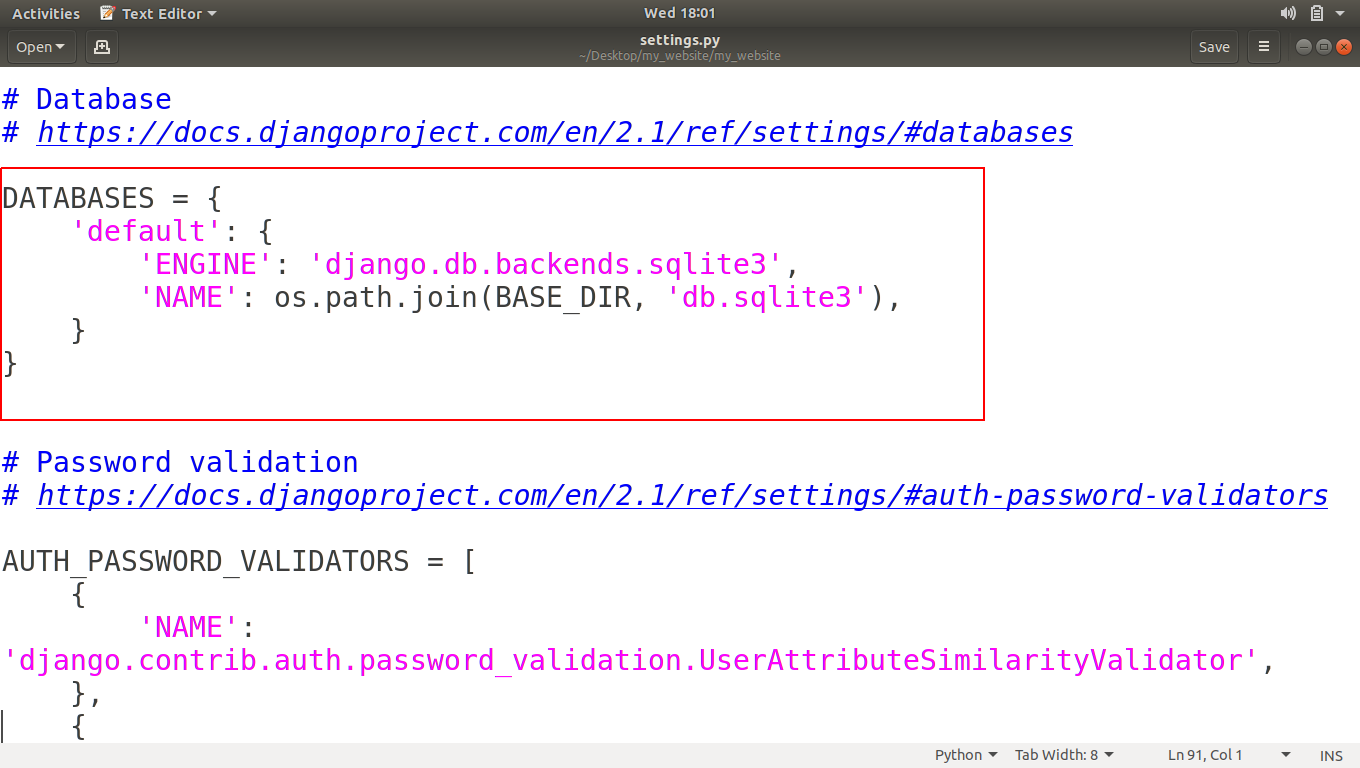
Next is DATABASES, This is the code that generated that file named as db.sqlite3 in our project directory. If we want to create another database file then we can also generate by editing this code.
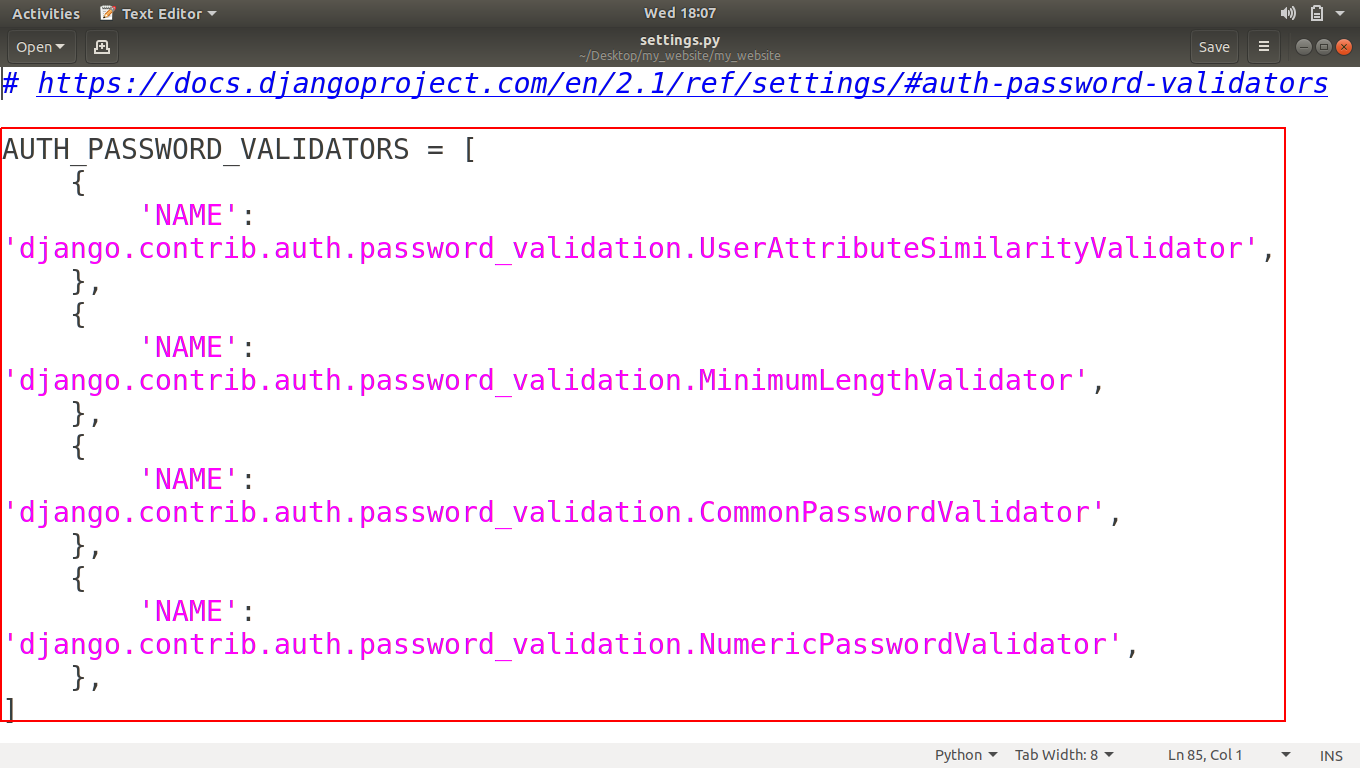
Next is AUTH_PASSWORD_VALIDATORS, This basically saying that whenever someone makes a new user account what sort of things do we want to require of to get their passwords we’ll see it later too.
Now other variables like LANGUAGE_CODE, TIME_ZONE are just there for making our website unique like what language code we want to use, by default it is US-English and what Time-zone we want to use.
urls.py
Anytime someone visits our website that is s connected to our django project. It’s going to come into this file and this file decides where the user’s requests should go next and what HTML is to sent back to user.

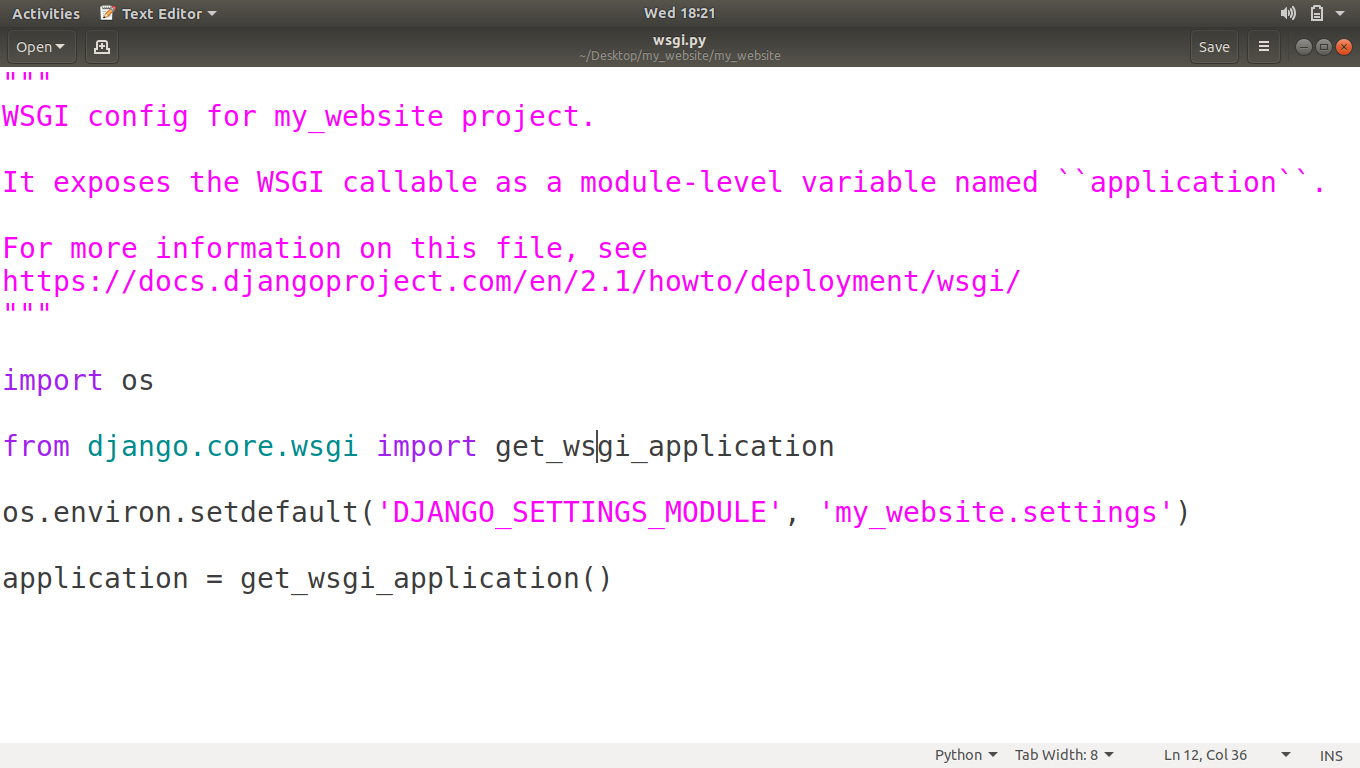
wsgi.py
This file is for hosting our website so other people can access it, we’ll see this file when we upload our project to a server.
So I hope you have understood that what the files inside our project folder are and what are the uses of those files.
If you have any confusion related to this tutorial, then please let us know in comments.
The post Django Project Tour appeared first on The Crazy Programmer.
from The Crazy Programmer https://www.thecrazyprogrammer.com/2018/09/django-project-tour.html
Comments
Post a Comment