
How to Install Django on Windows/Linux/Mac

In this tutorial, we’re going to see how we can install django on windows, linux or mac platform.

First of all, open https://www.djangoproject.com/. It is the official website of django. There is a ton of good information, you can also download the django from this website. But I am not recommending to download it from there. We’ll see another way to install django easily. Particularly the tutorials in that website are great if you want to get started with django with a solid foundation. But some of the students find out these tutorials little bit confusing. So we’ll provide you tutorials that we think is most relevant to you as a beginner.

Now we will install django with pip instead of downloading straight from the website. pip basically allows us to take other people’s Python code and bring it into our project, so that we can use it. So django can actually be downloaded into our computer as one of these pip packages.

Note: pip comes bundled automatically with Python 3. So that’s why we have to make sure that we should have Python 3 and we also need it because thats the only version that work with django 2. If you got Python 3 in your system then you also got pip installed in your system.

How to Install Django on Windows, Linux,  Mac

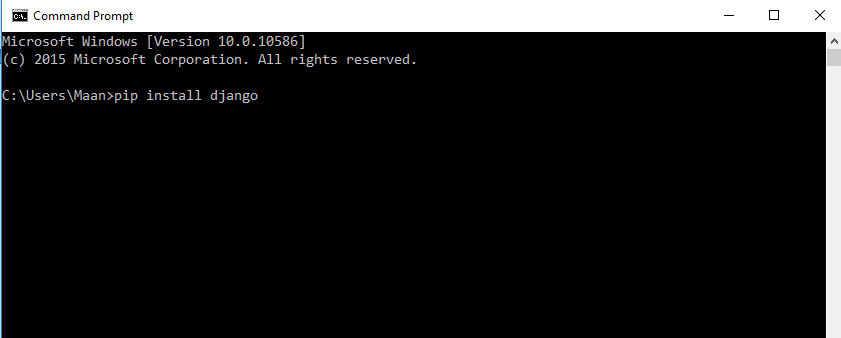
1. Open terminal or command prompt

2. Type the command below and hit enter. Make sure you have internet connection.

pip install django 

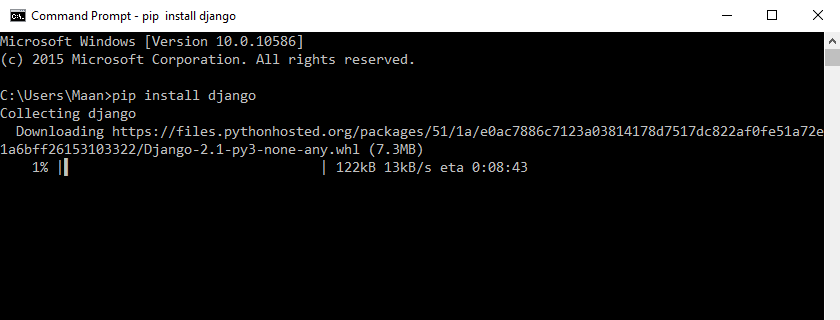
Now wait to install django in your system.

On other hand if you want to install a specific version of django in your system or let’s say you want to install django 2.0.2 then our command will be like:

pip install django==2.0.2

If anytime you want to uninstall django from your computer then you can simply type:

pip uninstall django

There is no need to give any specific version of django while uninstalling it.

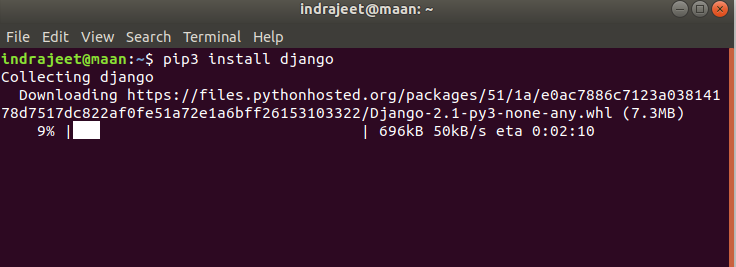
Note: If you have both versions of Python (Python 2 and 3) installed in your system then to download the latest version of django please use pip3 instead of pip. If you use pip not pip3 then it will download the compatible version for Python 2, which is django 1.11.15 currently.

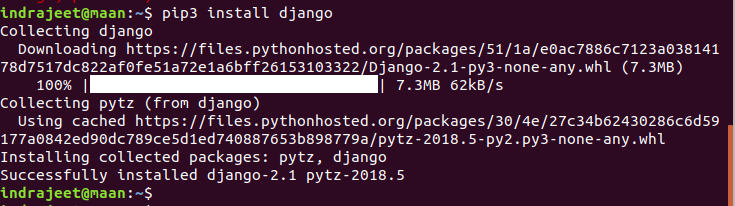
Let’s see screenshot of installations.

Linux or Mac (Installation Screenshots)

Install Django Linux 1

Install Django Linux 2

Install Django Linux 3

In Windows (Installation Screenshots) 

Install Django Windows 2

Install Django Windows 3

Install Django Windows 4

If you are having any problem with any step of django installation then please comment below, we’ll reply as soon as possible.

The post How to Install Django on Windows/Linux/Mac appeared first on The Crazy Programmer.


from The Crazy Programmer https://www.thecrazyprogrammer.com/2018/09/how-to-install-django.html

Comments

Popular posts from this blog

Rail Fence Cipher Program in C and C++[Encryption & Decryption]

Here you will get rail fence cipher program in C and C++ for encryption and decryption. It is a kind of transposition cipher which is also known as zigzag cipher. Below is an example. Here Key = 3. For encryption we write the message diagonally in zigzag form in a matrix having total rows = key and total columns = message length. Then read the matrix row wise horizontally to get encrypted message. Rail Fence Cipher Program in C #include<stdio.h> #include<string.h> void encryptMsg(char msg[], int key){ int msgLen = strlen(msg), i, j, k = -1, row = 0, col = 0; char railMatrix[key][msgLen]; for(i = 0; i < key; ++i) for(j = 0; j < msgLen; ++j) railMatrix[i][j] = '\n'; for(i = 0; i < msgLen; ++i){ railMatrix[row][col++] = msg[i]; if(row == 0 || row == key-1) k= k * (-1); row = row + k; } printf("\nEncrypted Message: "); for(i = 0; i < key; ++i) f...

Data Encryption Standard (DES) Algorithm

Data Encryption Standard is a symmetric-key algorithm for the encrypting the data. It comes under block cipher algorithm which follows Feistel structure. Here is the block diagram of Data Encryption Standard. Fig1: DES Algorithm Block Diagram [Image Source: Cryptography and Network Security Principles and Practices 4 th Ed by William Stallings] Explanation for above diagram: Each character of plain text converted into binary format. Every time we take 64 bits from that and give as input to DES algorithm, then it processed through 16 rounds and then converted to cipher text. Initial Permutation: 64 bit plain text goes under initial permutation and then given to round 1. Since initial permutation step receiving 64 bits, it contains an 1×64 matrix which contains numbers from 1 to 64 but in shuffled order. After that, we arrange our original 64 bit text in the order mentioned in that matrix. [You can see the matrix in below code] After initial permutation, 64 bit text passed throug...

Experimental: Reducing the size of .NET Core applications with Mono's Linker

The .NET team has built a linker to reduce the size of .NET Core applications. It is built on top of the excellent and battle-tested mono linker . The Xamarin tools also use this linker so it makes sense to try it out and perhaps use it everywhere! "In trivial cases, the linker can reduce the size of applications by 50%. The size wins may be more favorable or more moderate for larger applications. The linker removes code in your application and dependent libraries that are not reached by any code paths. It is effectively an application-specific dead code analysis ." - Using the .NET IL Linker I recently updated a 15 year old .NET 1.1 application to cross-platform .NET Core 2.0 so I thought I'd try this experimental linker on it and see the results. The linker is a tool one can use to only ship the minimal possible IL code and metadata that a set of programs might require to run as opposed to the full libraries. It is used by the various Xamarin products to extract...