In this tutorial we’ll talk about virtual environment for django project.
Here we’ll discuss about:
1. What is virtual environment and why to use it?
2. How to install virtual environment for django project?
3. How to use virtual environment in django project?
So let’s start with our very first question.
What is Virtual Environment and Why to Use it ?
Let’s say you have worked in django extensively. So for sure, you may have created some projects with some previous versions of django. Now you want to install latest version of django in your computer. So the first problem you’ll encounter with is that your new version of django is not compatible with the projects you’ve created in previous version of django. For example – current version of django (django 2.1) requires Python 3.4 or above in your system. So if you were using Python 2 and a lower version of django, then there will be some problems right?
Here the term virtual environment comes into picture. Using virtual environment, you can make a different environment for each project that you’re working on. Let’s say you have a project and you want to work with python 3 and django 2.1. On other hand you’ve another project where you want to work with Python 3 and django 1.11.
So in that case, we’ll create two virtual environments for both of the projects and install python 2 and django 1.11 in one virtual environment and python 3 and django 2.1 in another. Isn’t it awesome?
How to Install Virtual Environment for Django Project?
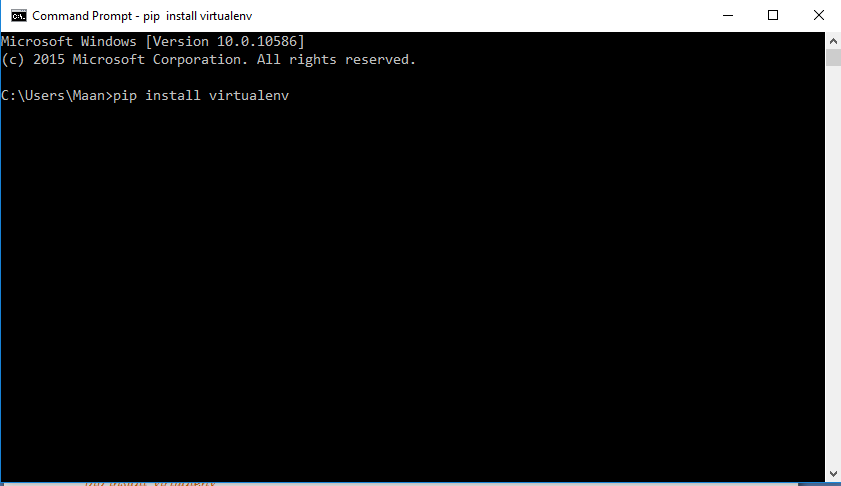
To install virtual environment we’ll use pip here. Firstly open your command prompt/terminal and type the command below:
pip install virtualenv
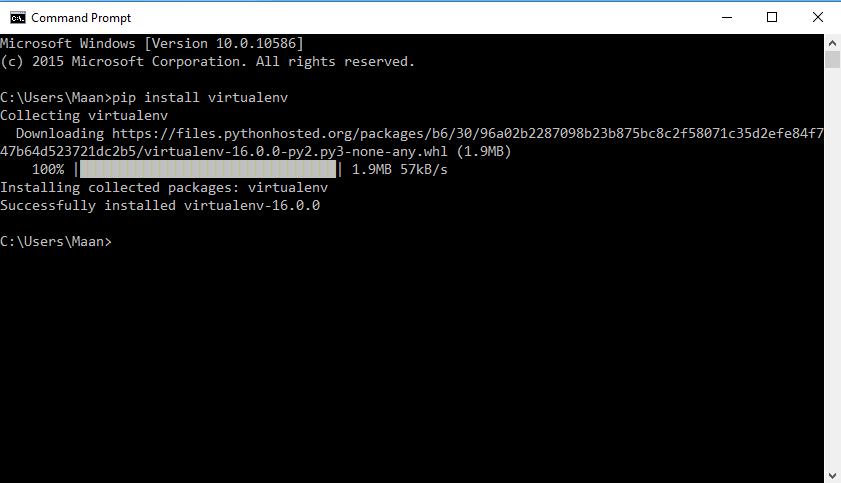
That’s all we have to do install virtual environment.
To see the version of the virtual environment you can use the command:
virtualenv –version
Note: If you’re using Mac or Linux (Ubuntu), where you’ve both of the python 2 and python 3 installed in your system. You can use pip3 to install for python 3 and pip to install for python 2.
How to Use Virtual Environment in Django Project?
After installing virtual environment (Virtualenv), you want to work with django 2.0.1, then you have to install django 2.0.1 in your virtual environment. Let’s see how to do it.
Create Virtual Environment
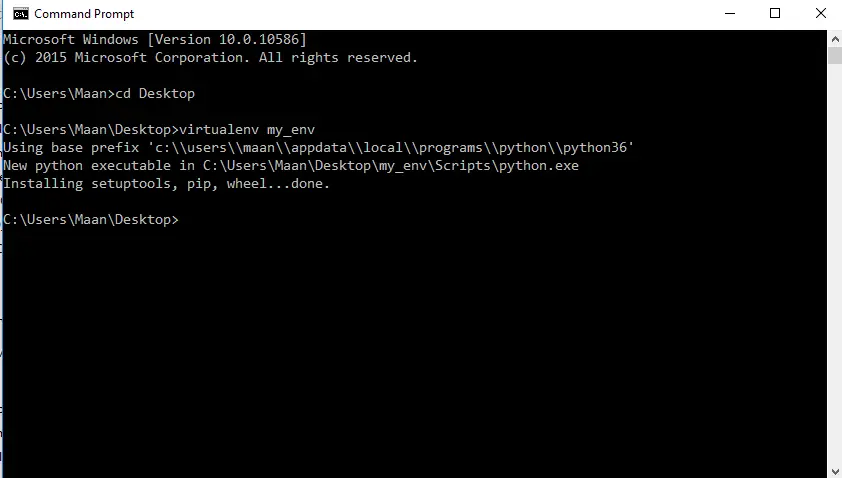
To create virtual environment open command prompt/terminal and navigate to the directory where you want to create your django project. Let’s say we want to create our project at Desktop then we’ll navigate to desktop and then type the command below.
virtualenv env_name
Here you can name your virtual environment as you want.
After creating virtual environment we have to activate the virtual environment.
Activate Virtual Environment
To activate virtual environment you’ve to run the batch file created inside the \env_name\Scripts\activate. So here our virtual environment’s name is my_env, so we’ll type the command below.
my_env\Scripts\activate
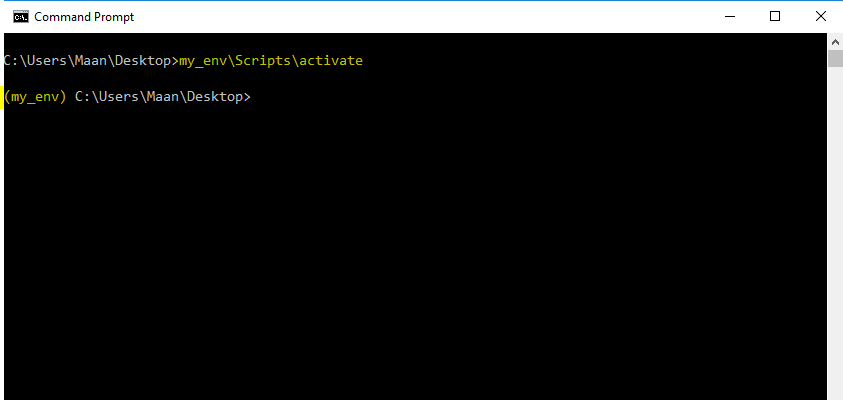
So after typing this command you’ll be entered into the virtual environment that you’ve created.
Now here we can install a specific version of django (for example – django 2.0.1).
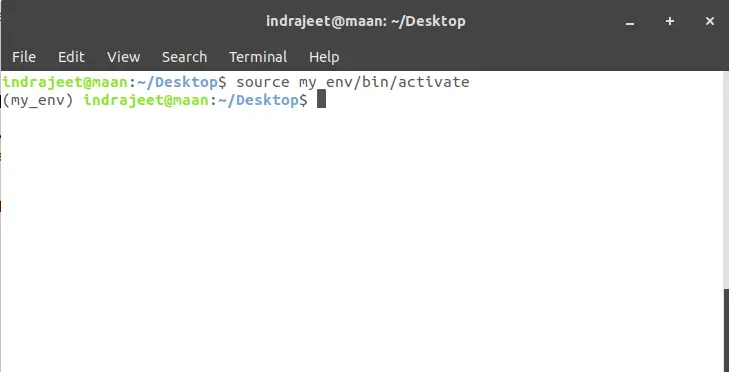
Note: As Batch files are not supported in Linux or Mac. So to activate the created virtual environment, you can use the command below.
source my_env/bin/activate
Install Django in Virtual Environment
Now we’re in the virtual environment, so if we install anything inside this environment, it won’t affect our system’s environment.
To install any version of django (example – django 2.0.1) use the command below.
pip install django==2.0.1
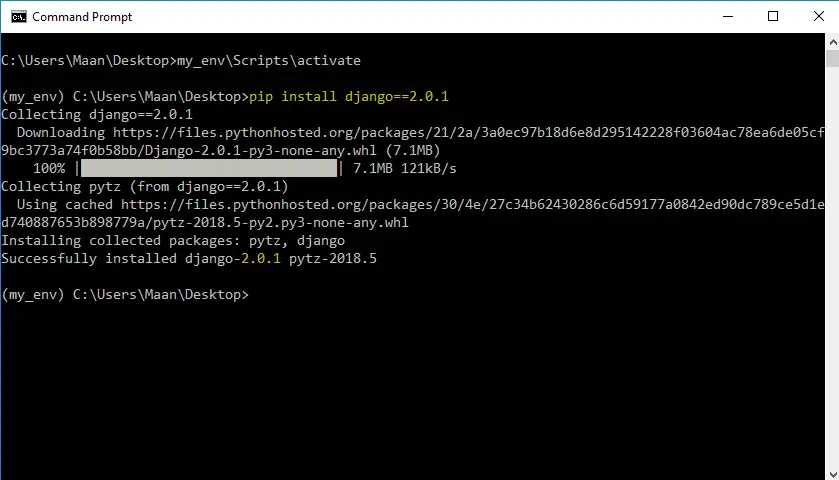
Now we have django 2.0.1 in our virtual environment. So you can create, run, test your django 2.0.1 projects in this environment.
Deactivate Virtual Environment
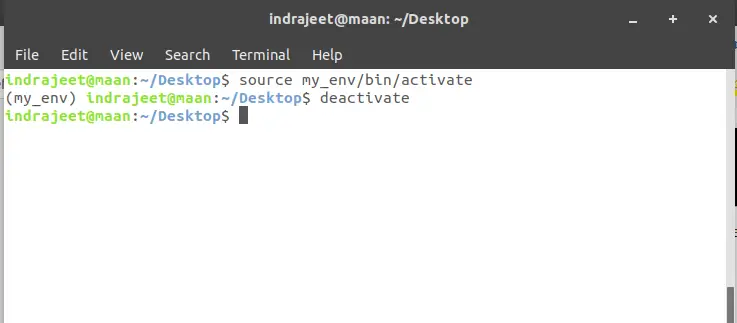
To deactivate virtual environment type the command below.
deactivate
That’s all. If you’ve any problem related with this article then please let us know in comment box. We’ll reply as soon as possible.
The post Working with Virtual Environment for Django Project appeared first on The Crazy Programmer.
from The Crazy Programmer https://www.thecrazyprogrammer.com/2018/11/working-with-virtual-environment-for-django-project.html
Comments
Post a Comment