We’ll know that SQLite is very powerful, embedded relational database management system and it offers a really amazing set of tools to manage approximately all sorts of data. But when it comes Multi-user applications (where multiple users want to use the same databases), It fails. So It is recommended to choose a fully featured relational database management system rather than SQLite.
Some examples of Fully featured RDBMS are MySQL, PostgreSQL, Oracle databases.
Django is very flexible in terms of changing databases.
So in this article, we’ll see how we can change the database from SQLite to PostgreSQL.
Prerequisites
Instead of creating everything from scratch, we’re taking the example of our previous article, in which we’re using SQLite database.
If you haven’t read our previous article yet, then here it is https://www.thecrazyprogrammer.com/2019/01/django-models.html
Let’s start.
Step 1: Install PostgreSQL
To Install PostgreSQL for Django in Ubuntu:
Open terminal and type these two commands.
sudo apt-get update
sudo apt-get install python-pip python-dev libpq-dev postgresql postgresql- contrib
To Install PostgreSQL for Django in Windows:
Download the installer from its official site: https://www.postgresql.org/download/windows/
And follow the instructions mentioned in the link. While installing you have to enter a password and a port number. Note it down.
To Install PostgreSQL for Django in Mac OS:
Like windows, you need to download the installer from its official site: https://www.postgresql.org/download/macosx/
While installing you have to enter a password and a port number. Note it down.
Step 2: Setup User and Database
Login using your password.
Here I am using a Ubuntu 18.04 and I am accessing the PostgreSQL from the terminal, So I have to switch to the user postgres that was created while installing PostgreSQL.
To switch the user to postgres, open terminal and type
sudo su – postgres
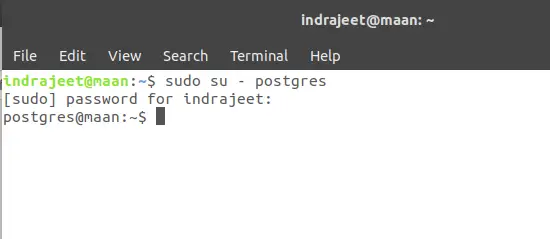
Now you’re ready to enter the shell session for the postgres user. Log into a Postgres session by typing:
psql
Now create a database by typing:
CREATE DATABASE myproject;
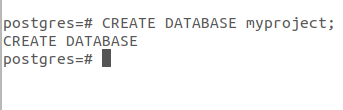
Choose the database name that is more relevant to your project. As it is just an example so I am using here myproject.
Now create a user to use the database that we’ve just created. To create a user type:
CREATE USER myuser WITH PASSWORD ‘mypassword’;
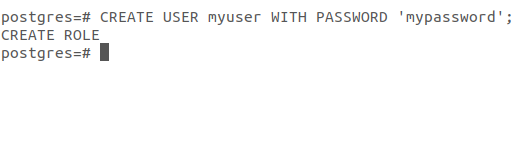
So our user and database are created.
Now, at last, give the rights to the user to access the database type:
GRANT ALL PRIVILEGES ON DATABASE myproject TO myuser;

Now just type \q to get back to the postgres user’s shell session then type exit.
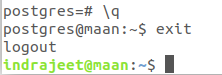
That’s all about database setup.
Step 4 : Install psycopg2
psycopg2 is a most popular PostgreSQL database adapter to work with Python. To install pycopg2 type:
pip install django psycopg2
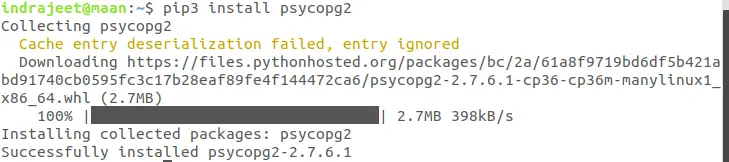
Note: I am using pip3 instead of pip because I have both the versions installed in my Ubuntu Linux.
Step 5: Edit Your Project’s Settings File
Open your project’s setting file in write mode and go to the DATABASES section.
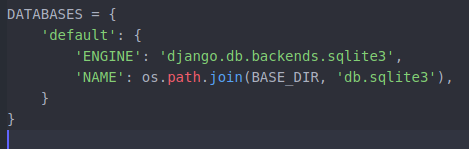
Here you can see that sqlite3 is connected with our project. To change it to PostgreSQL just change these lines as:
DATABASES = {
‘default’: {
‘ENGINE’: ‘django.db.backends.postgresql’,
‘NAME’: ‘myproject’,
‘USER’: ‘myuser,
‘PASSWORD’ : ‘mypassword’,
‘HOST’ : ‘localhost’,
‘PORT’ : ‘5432’
}
}
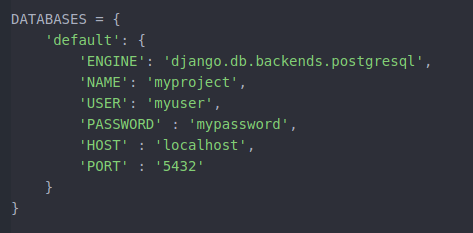
In the above code, NAME, USER, PASSWORD are name of database, name of your user and password that we’ve created while creating the user.
And PORT is same number that I recommended to note down while installing the PostgreSQL.
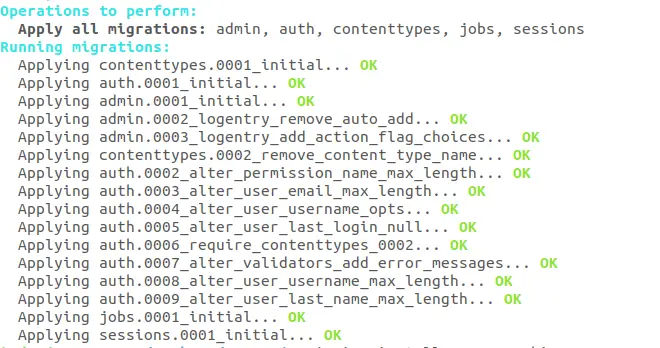
Step 6: Migrate Your Project
So we’ve installed PostgreSQL and configured the settings.py file. Now last step is to migrate your project.
Open your project directory in terminal and type:
python manage.py runserver
All set, test and run your project.
That’s all about changing database from SQLite to PostgreSQL.
Note: While migrating, if you’re facing a warning like:
UserWarning: The psycopg2 wheel package will be renamed from release 2.8; in order to keep installing from binary please use “pip install psycopg2-binary” instead. For details see: <http://initd.org/psycopg/docs/install.html#binary-install-from-pypi>.
“””)
You can solve this issue with installing psycopg2-binary by using following command:
pip install psycopg2-binary
If you’ve any query related to Django PostgreSQL installation and setup, please let us know in the comment box.
The post Django PostgreSQL Installation and Setup appeared first on The Crazy Programmer.
from The Crazy Programmer https://www.thecrazyprogrammer.com/2019/01/django-postgresql-installation-and-setup.html
Comments
Post a Comment